
DHT11 - Measuring Temperature and Humidity with Raspberry Pi Pico in Arduino code
(Updated at 01/05/2023)
Makers and DIY enthusiasts are especially enjoying the DHT11 sensor for its affordability and simplicity.
Warning
This device can be used to measure once per second, which may be suitable if you’re looking to create a DIY IoT weather station. Its main limitation is the rate at which it can measure.
Getting started with the DHT11 sensor
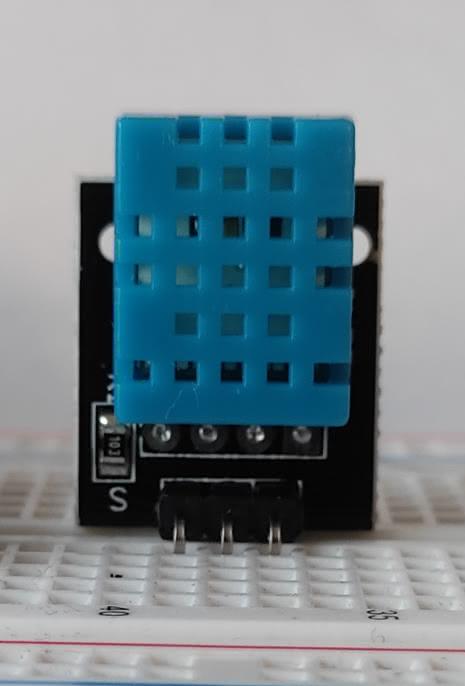
The DHT11 and DHT22 are two types of temperature and humidity sensors. The DHT11 is the more basic model, identifiable by its blue casing. The DHT22 is more advanced, identifiable by its white casing and slightly larger design. Both sensors are used the same way, but if you want to learn more about the differences, you can compare the DHT11 and DHT22 sensors.
Some technical characteristics of the DHT11
The DHT11 can be operated when given a power source of 3.3 Volts.
Features |
DHT11 |
|---|---|
Temperature accuracy |
± 2°C |
Humidity accuracy |
± 5% |
Temperature range |
0-50 °C |
Humidity range |
20-90% |
Sampling |
1/s |
Supply Voltage |
3-5.5V |
Current |
~2.5mA |
Unfortunately, the performance is minimal, limiting the sensor’s use. I recommend you use, for example, a sensor of the BMExxx series from Bosh to get better measurements.
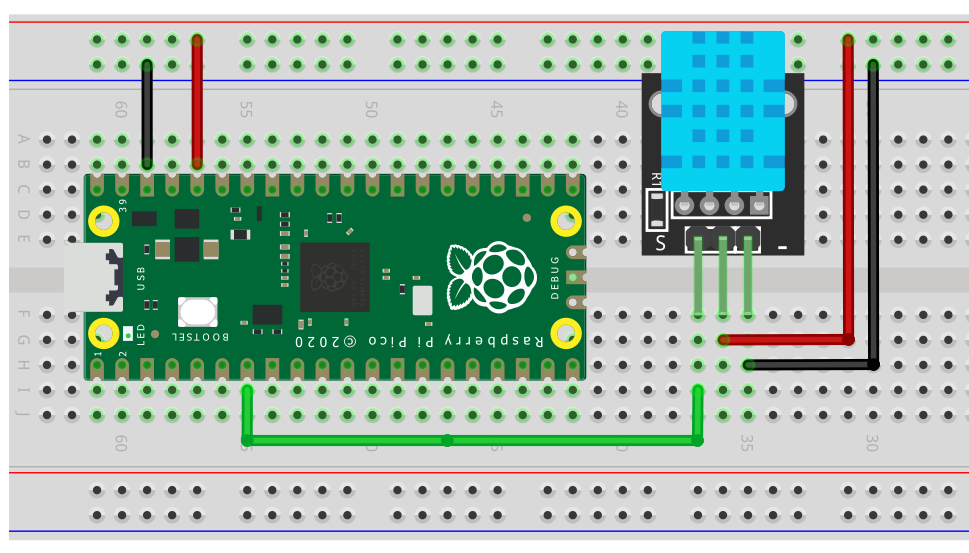
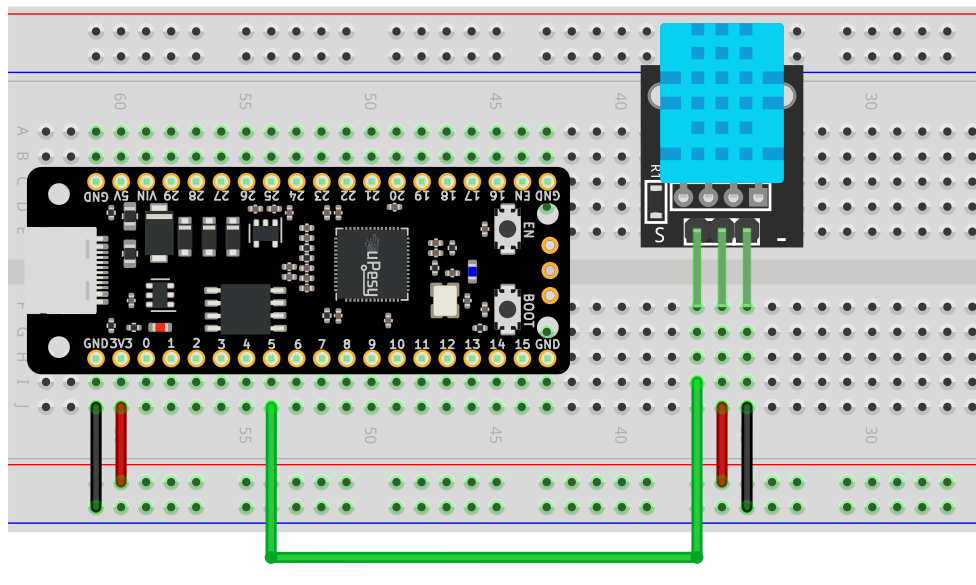
DHT11 Sensor Wiring on Raspberry Pi Pico
The DHT11 is a module that has either 3 or 4 pins. The 4-pin model has one pin that isn’t necessary. However, the way the pins are laid out on the module may differ, depending on the manufacturer. 😕

Here is a brief overview of potential possibilities:
The pins are numbered from left to right when looking at the DHT11 sensor with the grid side facing you. Aside from the power pins, there is only one data transmission pin.
Wiring diagram for using the DHT11 module with a Raspberry Pi Pico
If the module does not have a pull-up resistor, add one between 4.7kΩ to 10kΩ between the pins 3V and GP5 . You can use any output pin.
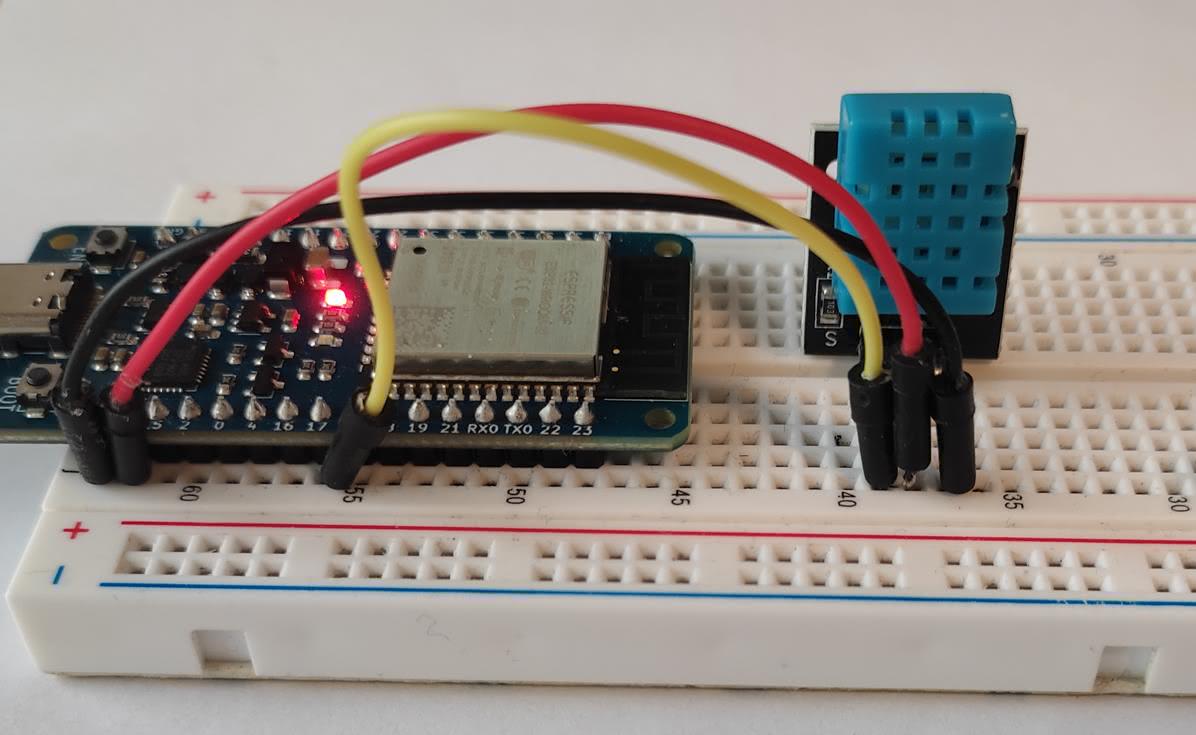
In the following examples, I use an Elegoo DHT11 sensor. Feel free to adapt your code if your model is slightly different. 🙂
Measuring the temperature and humidity of the DHT11 with Arduino code
Communicating with the DHT11 sensor requires a library that utilizes a proprietary protocol. For the Raspberry Pi Pico, it is suggested to use the DHT Sensor library from Adafruit.
You may need help installing it from the Arduino IDE. Here is how to do it:
Once installed, use the following code to retrieve the temperature and humidity of the DHT11 :
#include "DHT.h"

#define DHTPIN 5
#define DHTTYPE DHT11

DHT dht(DHTPIN, DHTTYPE);

void setup() {
  Serial.begin(115200);
  dht.begin();
}

void loop() {
  delay(1000);
  //The DHT11 returns at most one measurement every 1s
  float h = dht.readHumidity();
  //Read the moisture content in %
  float t = dht.readTemperature();
  //Read the temperature in degrees Celsius
  float f = dht.readTemperature(true);
  // true returns the temperature in Fahrenheit

  if (isnan(h) || isnan(t) || isnan(f)) {
    Serial.println(F("Failed reception"));
    return;
    //Returns an error if the pi pico does not receive any measurements
  }

  Serial.print("Humidite: ");
  Serial.print(h);
  Serial.print("%  Temperature: ");
  Serial.print(t);
  Serial.print("°C, ");
  Serial.print(f);
  Serial.println("°F");
  //Transmits the received measurements to the serial terminal via USB
}
Note
The DHT.h line at the start of the code enables us to use the DHT Sensor library.
The following output is displayed in the console when you run your code:

This type of sensor is not very suitable for detecting a temperature change quickly, as it can give up to one measurement per second.
Note
You can try breathing gently on the DHT11 sensor to simulate foggy conditions. You should observe the humidity levels rise quickly after doing so.
Making asynchronous measurements with the DHT11 sensor
When measuring with the Raspberry Pi Pico, you may find it is blocked from doing anything else. To avoid this, you can use millis() in a conditional if statement instead of delay() . Even so, the data exchange with the DHT11 will still block your program. The best way to prevent this is to use a library with timers and interrupts to make measurements happen in the background.
https://www.e-techno-tutos.com/2020/12/21/arduino-capteur-dht11/
This section is available to premium members only. You still have 18% to discover.
Subscribe for only 5$/monthAlready subscribed? Sign in