
Programming the ESP32 directly from the Arduino IDE
(Updated at 01/05/2023)
This tutorial will guide you through the installation of the tools needed to program the ESP32 via the Arduino IDE. You will then write your first program for the ESP32 using Arduino code.
Before installing specific tools for the ESP32, you must first have the Arduino IDE software.
Note
If you already have Arduino IDE installed, make sure it is a recent version (> 1.8)
Installation of the Arduino IDE
To install Arduino IDE on Windows, follow the steps below:
Download the latest version of the software on the Arduino website by clicking on the first link, “Windows Installer, for Windows XP and up
Launch the installation file
.exeand then fill in the following fields: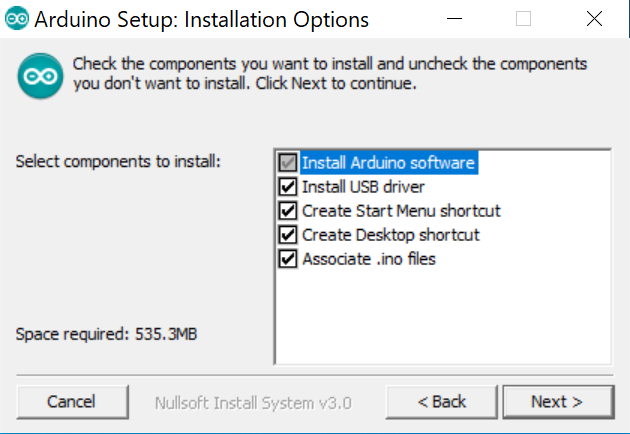
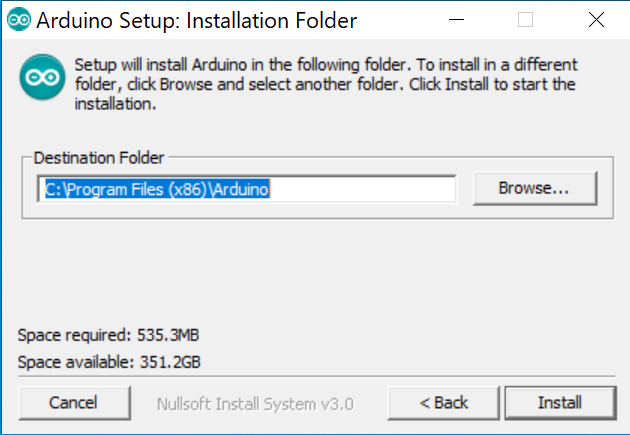
In the next window, leave the default installation location
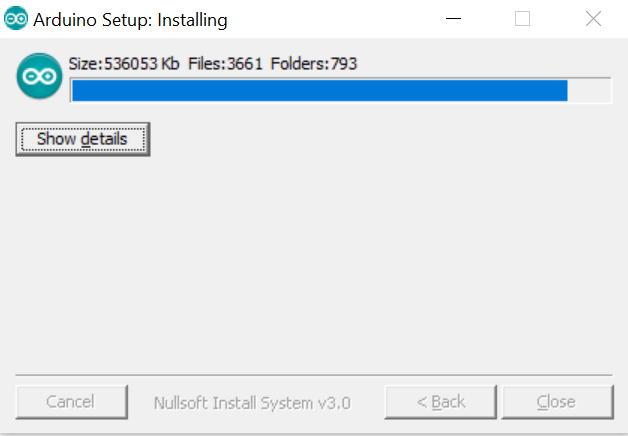
The Arduino setup is installing the software:
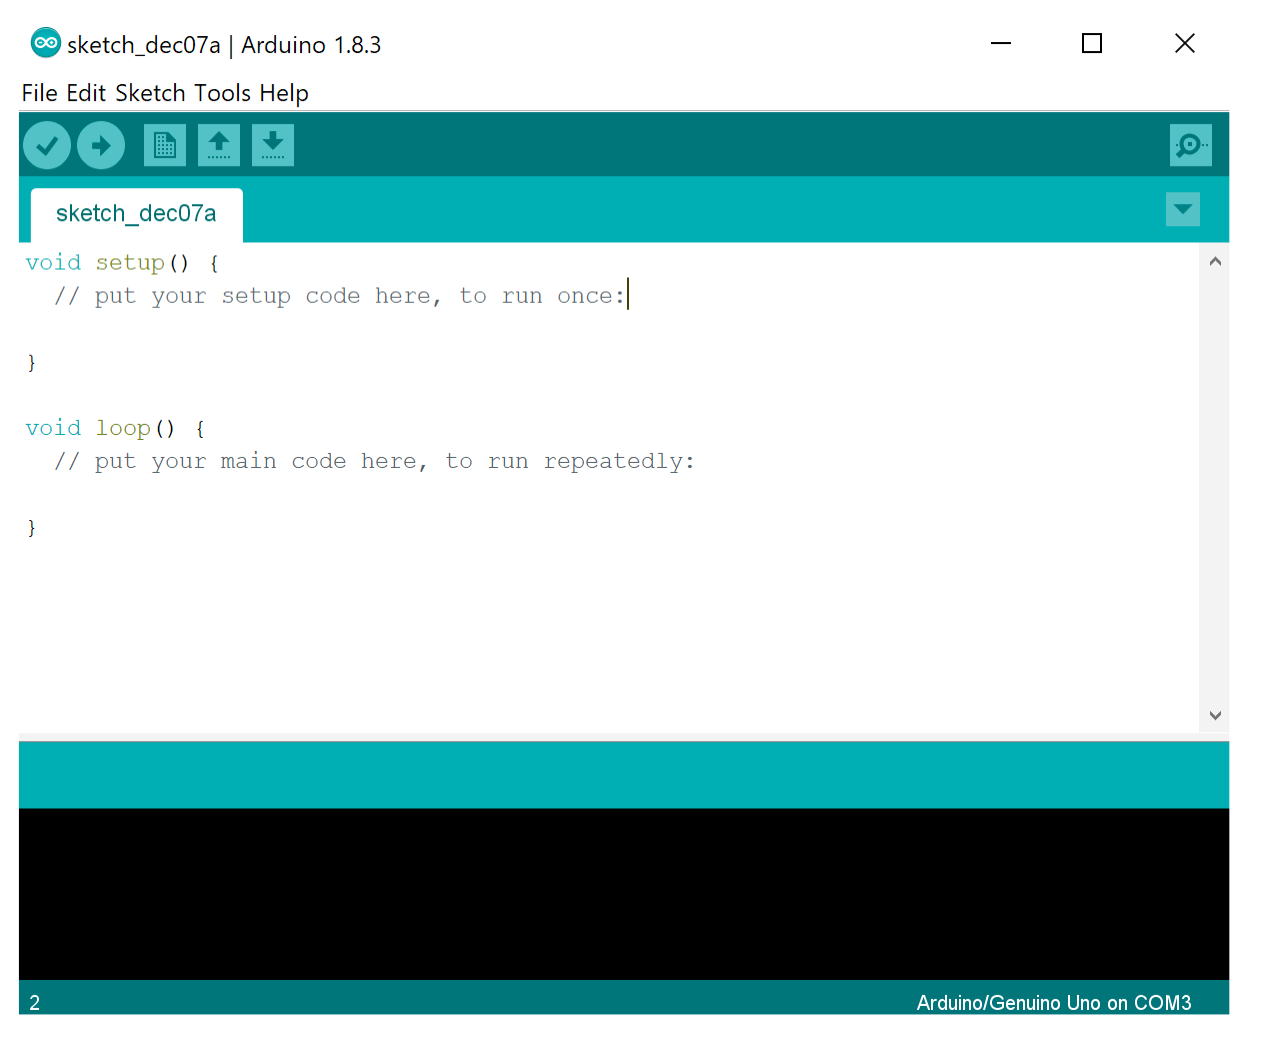
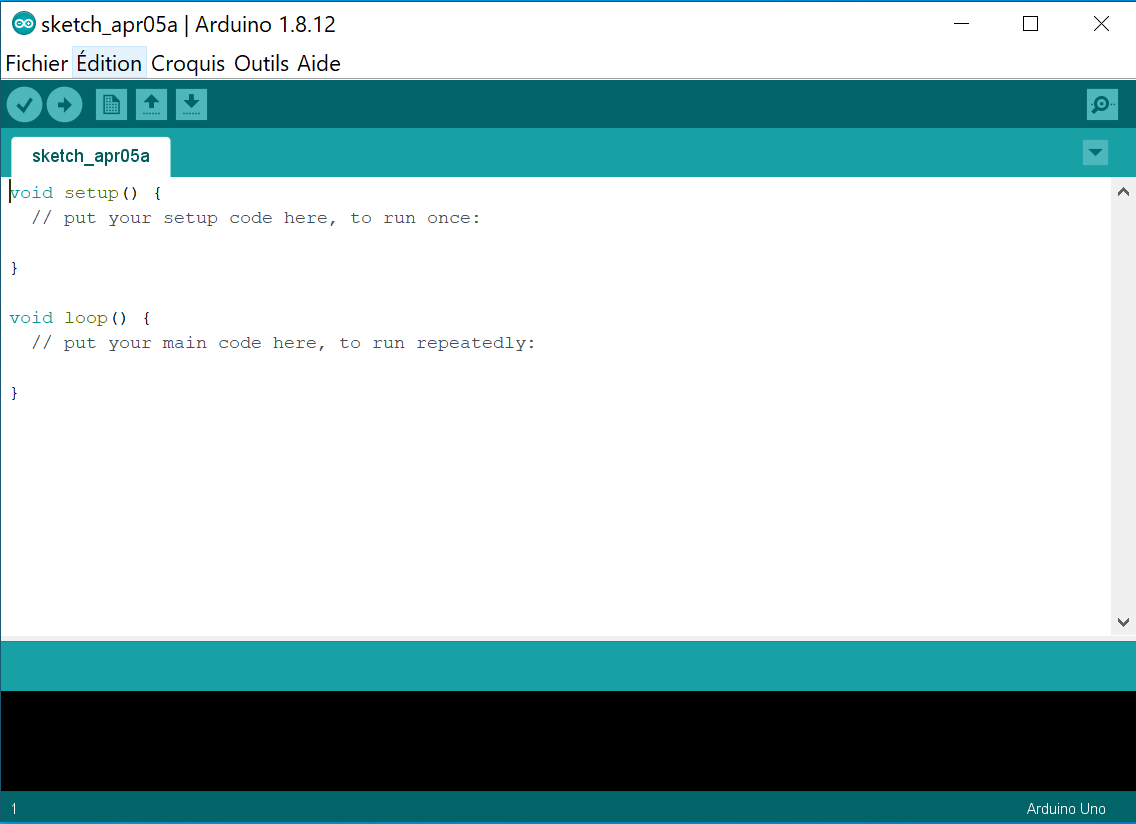
The installation is now complete. A window of this type should appear at first startup:
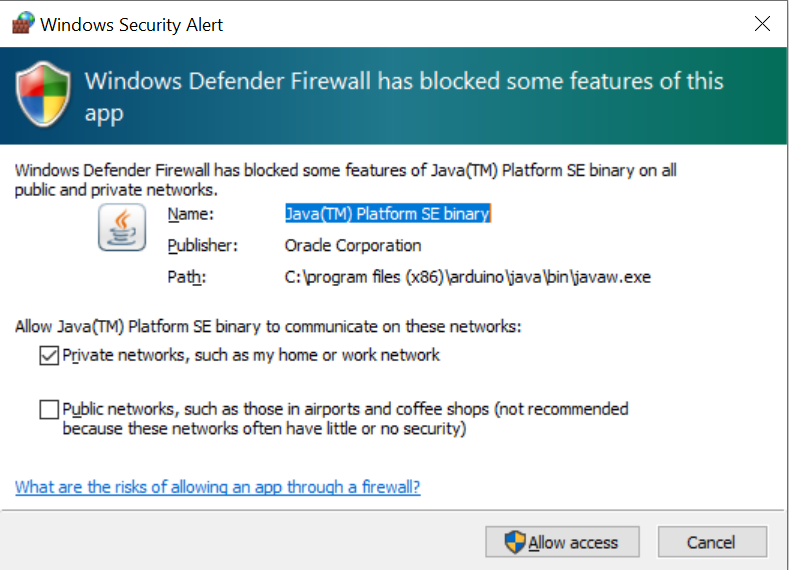
Warning
A Windows firewall window may prompt you to allow the application to access the Internet, Give the permission to download libraries, updates, boards and tools for ESP32 .
For now, you can only program Arduino boards . That’s why we will next install the specific tools of the ESP32 to be able to use it within the Arduino IDE.
Add ESP32 support in the Arduino IDE.
Now that the Arduino IDE is ready, you need to install the development tools specific to ESP32 boards (They are different from those of the ESP8266). To install the necessary tools, you must :
Go to File → Preferences
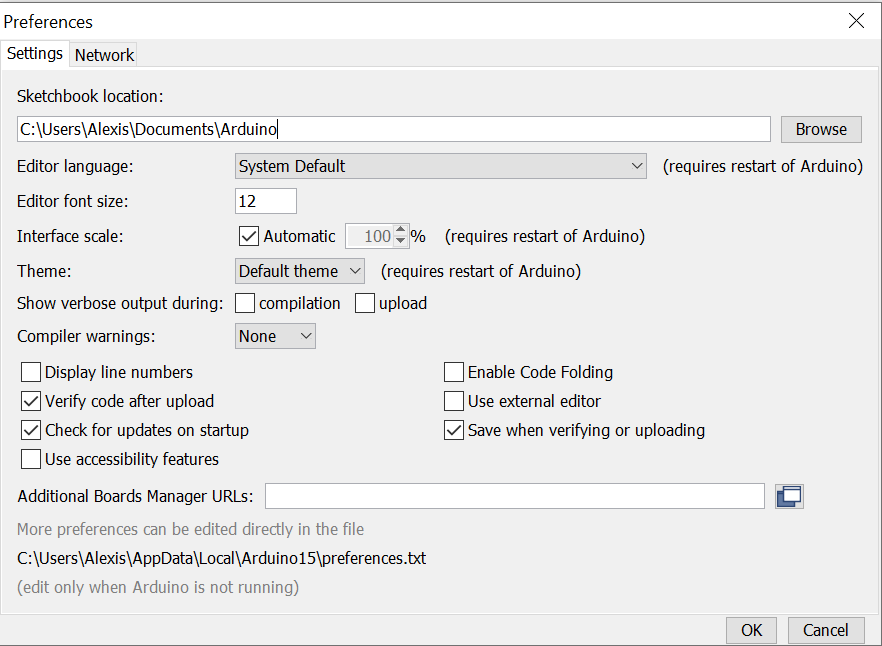
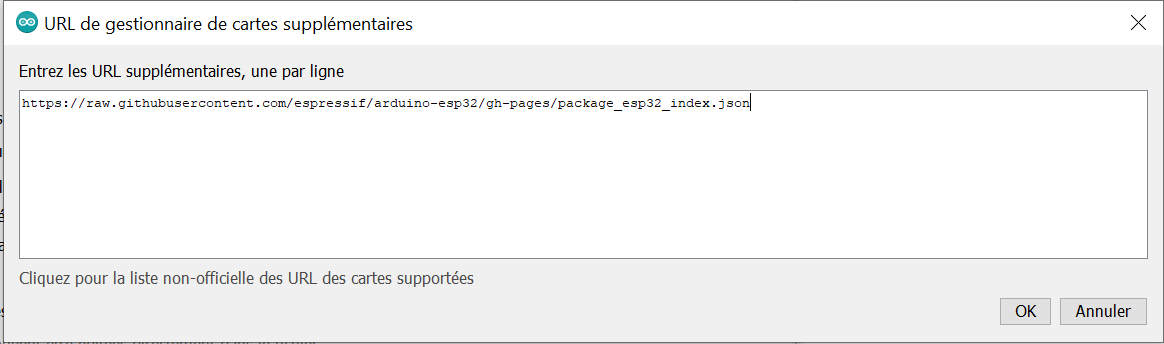
Click on the Additional Board managers URLs and add the URL :
https://raw.githubusercontent.com/espressif/arduino-esp32/gh-pages/package_esp32_index.json
Warning
If you have already installed additional boards (like ESP8266), there may already be added URLs. If this is the case, do not delete them.
Note
Don’t forget to click on the OK button to save the settings
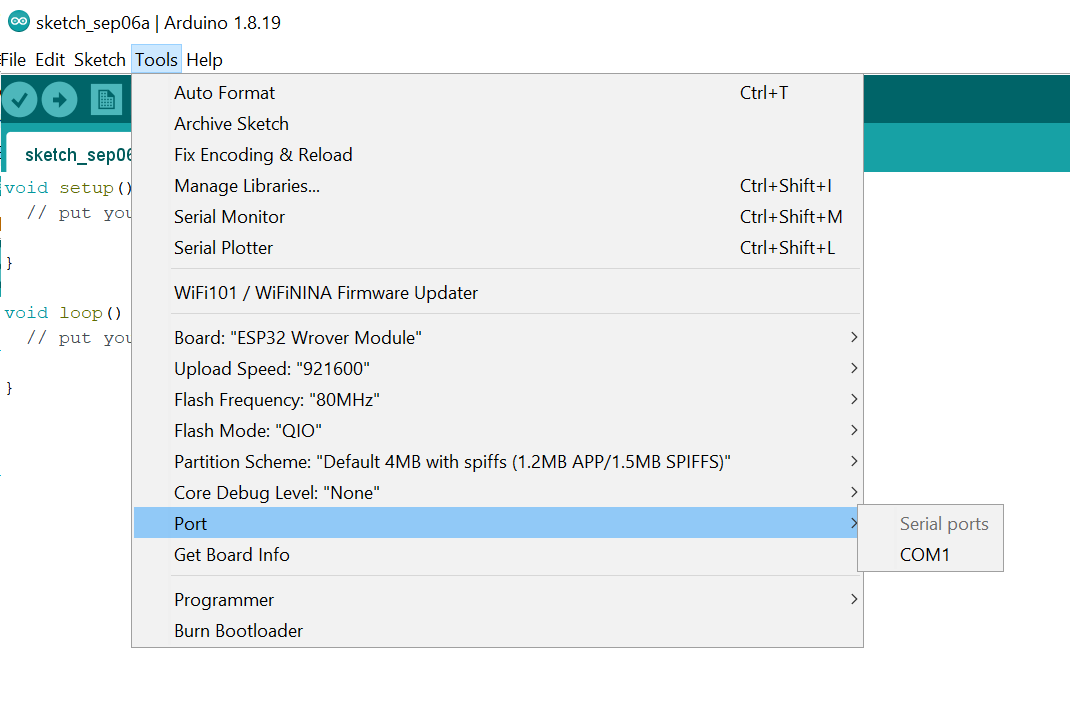
Then you have to go to the board manager Tools → Board → Boards Manager
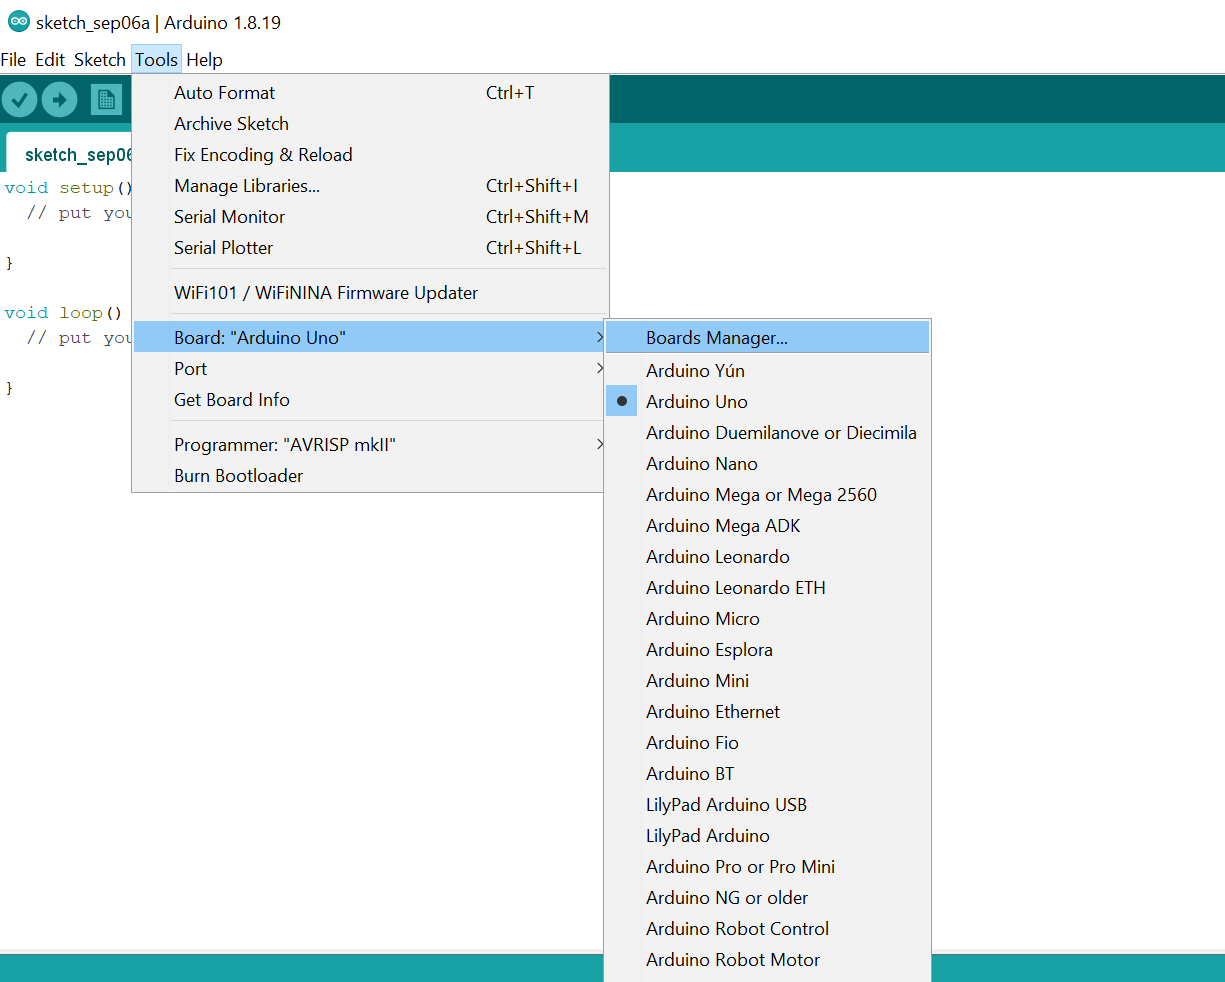
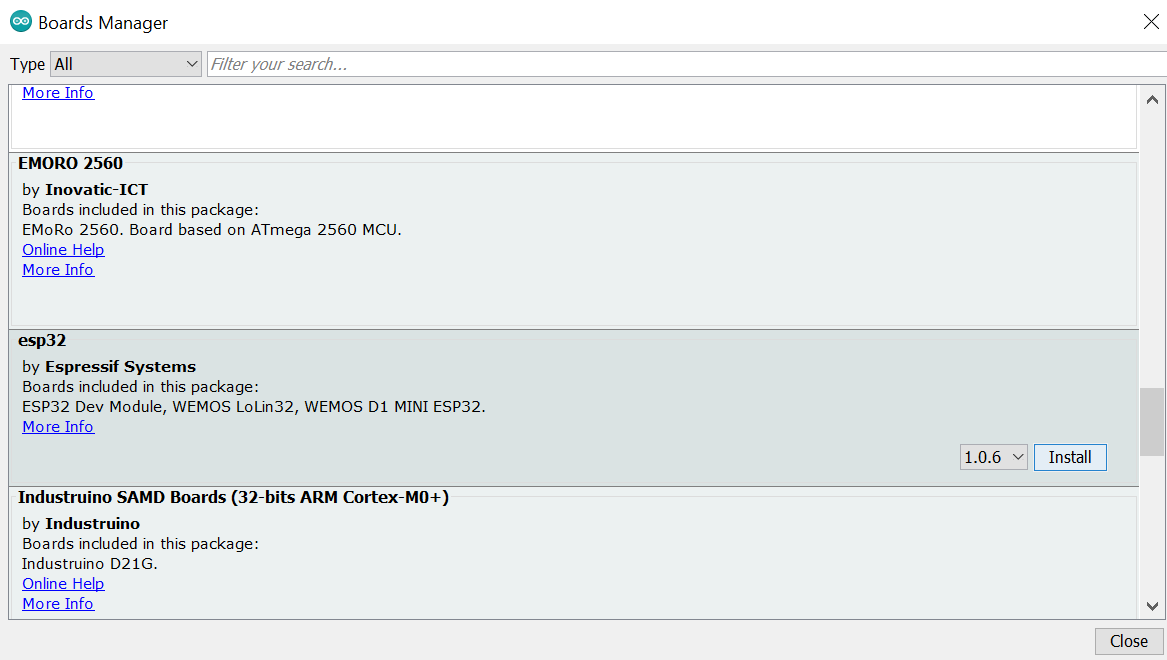
Scroll down until you find esp32 , and click on install . Once the download and installation are complete, the tools are ready to be used.
Note
The most recent version (at the time of writing this tutorial) is
2.0.5: it supports the classic ESP32 boards and the new models: ESP32S2, ESP32C3 and ESP32S3.
ESP32 boards have been added to the board manager:
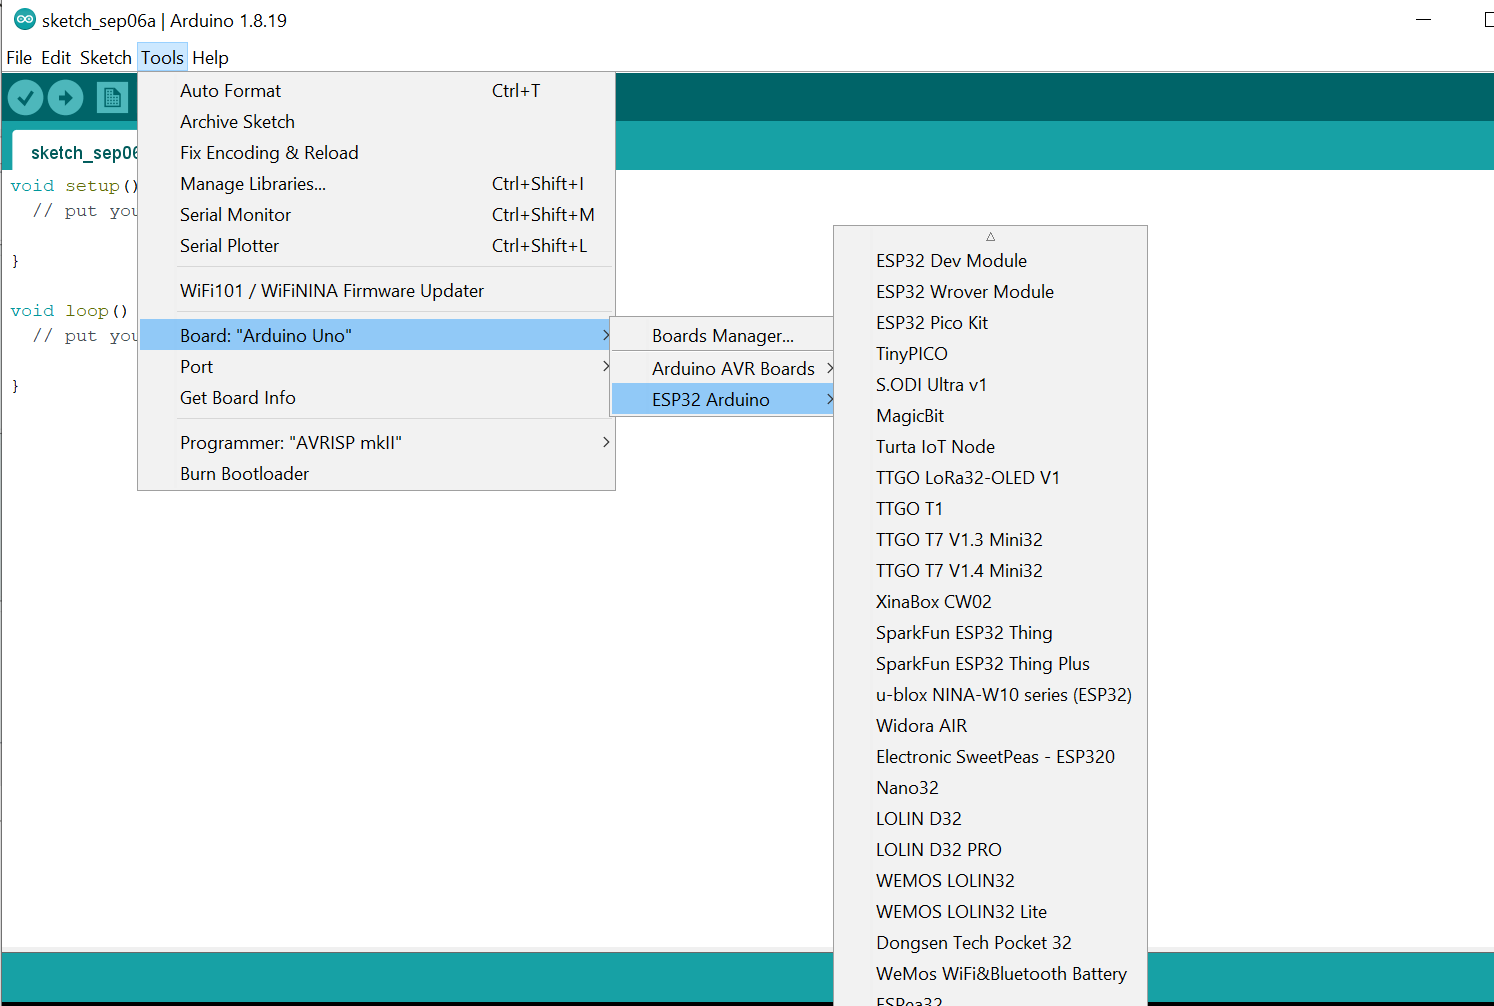
If you have the board uPesy ESP32 Wroom DevKit or the “low power” version, you can choose the
uPesy ESP32 Wroom DevKitboard at the end of the list. However, to use the extra RAM on the uPesy ESP32 Wrover Devkit board, you will need to get theuPesy ESP32 Wrover DevKit.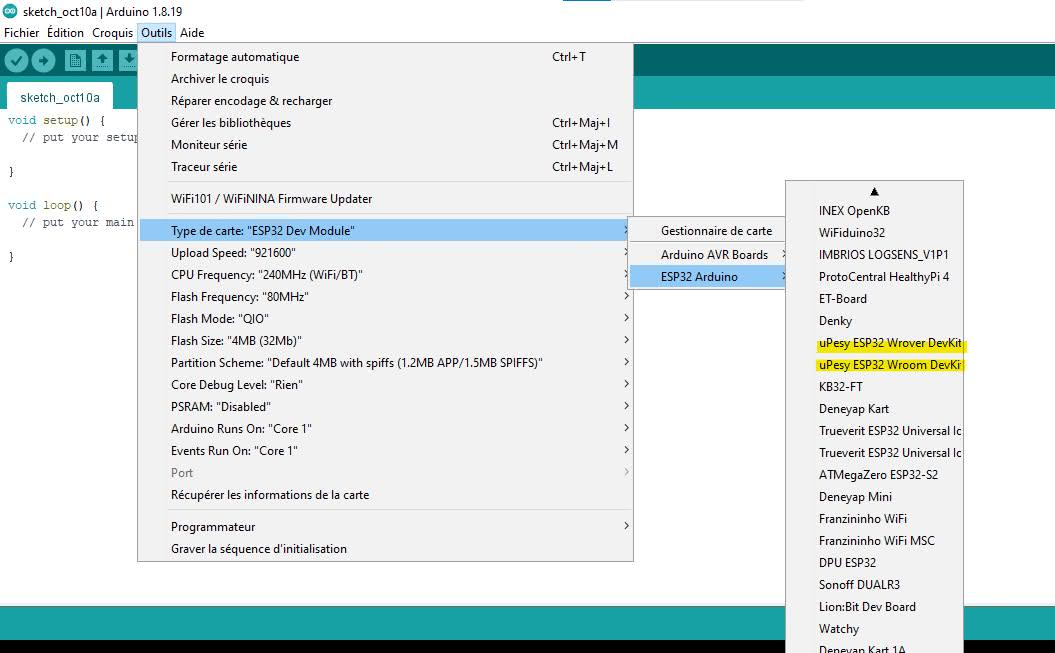
Si vous avez une carte ESP32 générique, vous pouvez choisir
ESP32 Dev Modulecomme type de carte.The installation is now complete; you can now program your ESP32 board as a classic Arduino board. Examples are available for Wi-Fi and Bluetooth in File → Examples.
Uploading your first program to the ESP32
Now that all the tools are installed, we can create our first program and send it to the ESP32 board. But before doing our first program, we must ensure we can talk to the board.
Board detection
Note
Normally, ESP32 boards are automatically detected, so there is no need to install additional drivers.
Connect your ESP32 board to your computer via USB (with a USB Micro-B cable). When you plug in the board on Windows, you should hear the same noise as a USB key, and it is normal not to see it in the file explorer. The red LED lights up as soon as the ESP32 board is powered on.
Warning
Be sure to get a USB cable that can transmit data, not a “charge only” one.
Once the board is plugged in, you should see on Arduino IDE a COM number (in this case: COM8).
To receive messages from the board, open the serial monitor.
The parameter that can be modified in the serial monitor is the data transmission speed . In general, the common speed of the serial port with an Arduino board is 9600 bauds (bit/s). But with the ESP32, the most commonly used speed is 115200 bauds . The reason is that the ESP32 sends debug messages at this speed when it starts up.
Note
The serial port speed can differ from 115200 bauds, but in this case, the messages during the ESP32 boot will not be visible and appear as incomprehensible characters.
Once the speed is changed, you can talk to the ESP32.
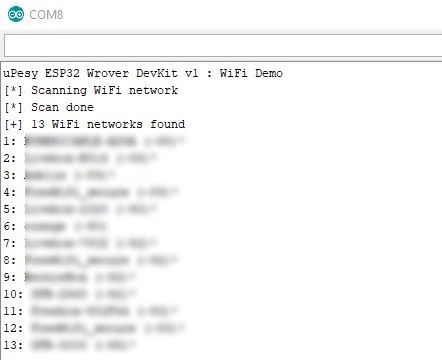
All uPesy ESP32 boards arrive already flashed with a program that blinks the blue LED available on the board and detects the Wi-Fi router in the surroundings. With the ESP32 WROOM DevKit board, you get in the serial monitor :
Warning
For users on Linux, if you get this error, not all the necessary python packages may be installed by default (for example, on Ubuntu 20.04). If you have this error : exec: « python »: executable file not found in $PATH command, you have to install the package python-is-python3 to make a symbolic link between the command python and python3 .
sudo apt install python-is-python3
Then, if you get the error ModuleNotFoundError: No module named "serial" you have to install the package pyserial with pip3 . If you launch the Arduino IDE with the root command, remember to add sudo for the command with pip3 .
sudo apt install python3-pip
pip3 install pyserial
Finally, if you can’t upload code, can the esp32 with an error of this type : avrdude: ser_open(): can’t open device « /dev/ttyUSB0 »: Permission denied , you have to add the read/write permissions with the command chmod :
sudo chmod a+rw /dev/ttyUSB0
Your first ESP32 program
Here is a simple example that regularly blinks the blue led on the pin GPIO2 .
void setup() {
  Serial.begin(115200);
  Serial.println("My first ESP32 program");
  pinMode(2,OUTPUT);
}

void loop() {
  digitalWrite(2, HIGH); // Blue LED on
  delay(500); // wait during 500 ms
  digitalWrite(2, LOW); // Blue LED off
  delay(500); // wait during 500 ms
}
Tip
The code can be directly copied to the clipboard by clicking on the icon in the upper right corner.
Once you have typed or copied the example code and saved the code, you will have to compile the program.
The first compilation is quite long because all source files for ESP32, even those not directly used by the program, are compiled. Fortunately, only the modified files will be compiled at the next compilation.
To do this, press the “Verify” button. Then click on the arrow next to it to upload the program to the ESP32.
Tip
To compile and send the program immediately afterward, click directly on the arrow.
Here are the lines in the console that correspond to the uploading of the program to an ESP32:
esptool.py v2.6
Serial port COM8
Connecting.....
Chip is ESP32D0WDQ5 (revision 1)
Features: Wi-Fi, BT, Dual Core, 240MHz, VRef calibration in efuse, Coding Scheme None
MAC: 4c:11:ae:68:09:44
Uploading stub...
Running stub...
Stub running...
Changing baud rate to 921600
Changed.
Configuring flash size...
Auto-detected Flash size: 8MB
Compressed 8192 bytes to 47...

Writing at 0x0000e000... (100 %)
Wrote 8192 bytes (47 compressed) at 0x0000e000 in 0.0 seconds (effective 4096.0 kbit/s)...
Hash of data verified.
Flash params set to 0x023f
Compressed 17392 bytes to 11185...

Writing at 0x00001000... (100 %)
Wrote 17392 bytes (11185 compressed) at 0x00001000 in 0.2 seconds (effective 804.3 kbit/s)...
Hash of data verified.
Compressed 261024 bytes to 123037...

Writing at 0x00010000... (12 %)
Writing at 0x00014000... (25 %)
Writing at 0x00018000... (37 %)
Writing at 0x0001c000... (50 %)
Writing at 0x00020000... (62 %)
Writing at 0x00024000... (75 %)
Writing at 0x00028000... (87 %)
Writing at 0x0002c000... (100 %)
Wrote 261024 bytes (123037 compressed) at 0x00010000 in 2.4 seconds (effective 866.8 kbit/s)...
Hash of data verified.
Compressed 3072 bytes to 128...

Writing at 0x00008000... (100 %)
Wrote 3072 bytes (128 compressed) at 0x00008000 in 0.0 seconds (effective 4096.0 kbit/s)...
Hash of data verified.

Leaving...
Hard resetting via RTS pin...
Once the upload is done, you should see the blue LED blinking faster than before (on uPesy ESP32 boards)
Note
Once the upload is complete, the ESP32 runs the program directly. It is, therefore, normal not to see the message “My first ESP32 program“ when you go to the serial monitor. Unlike the Arduino, the ESP32 does not restart when you press the magnifying glass to go to the serial monitor (in Arduino IDE but not on PlatformIO).
So, to see the message from the monitor on Arduino IDE, you need to either :
Add a delay of a few seconds with
delay()before executing the code.Having the serial monitor open before the upload is complete.
Press the “EN” button on the ESP32 board to do a manual reset.