
Your first steps with a Raspberry Pi Pico board | uPesy RP2040 DevKit
(Updated at 03/16/2023)
This page will guide you through using the Raspberry Pi Pico board or the uPesy RP2040 DevKit board. You will discover the different ways to program it and the different IDEs that can be used.
This tutorial is valid for all boards that are based on the RP2040 microcontroller. The best-known board is the Raspberry Pi Pico; however, the uPesy RP2040 DevKit board, an improved version of the Pico (designed by uPesy), behaves exactly the same.
Communication between a Raspberry Pi Pico and a computer
We communicate with the board from a computer via a USB link. The first step is to check that the board is recognized by the computer. To do so, take a USB-C cable (the one used by the new phones) and connect the board to a computer.
Note
Remember to take a cable that transmits data, not just a cable to recharge a battery. If you hear the characteristic Windows noise when you plug it in, then it’s good.
The Pi Pico can behave in 2 different ways when connected to the computer; it behaves either as :
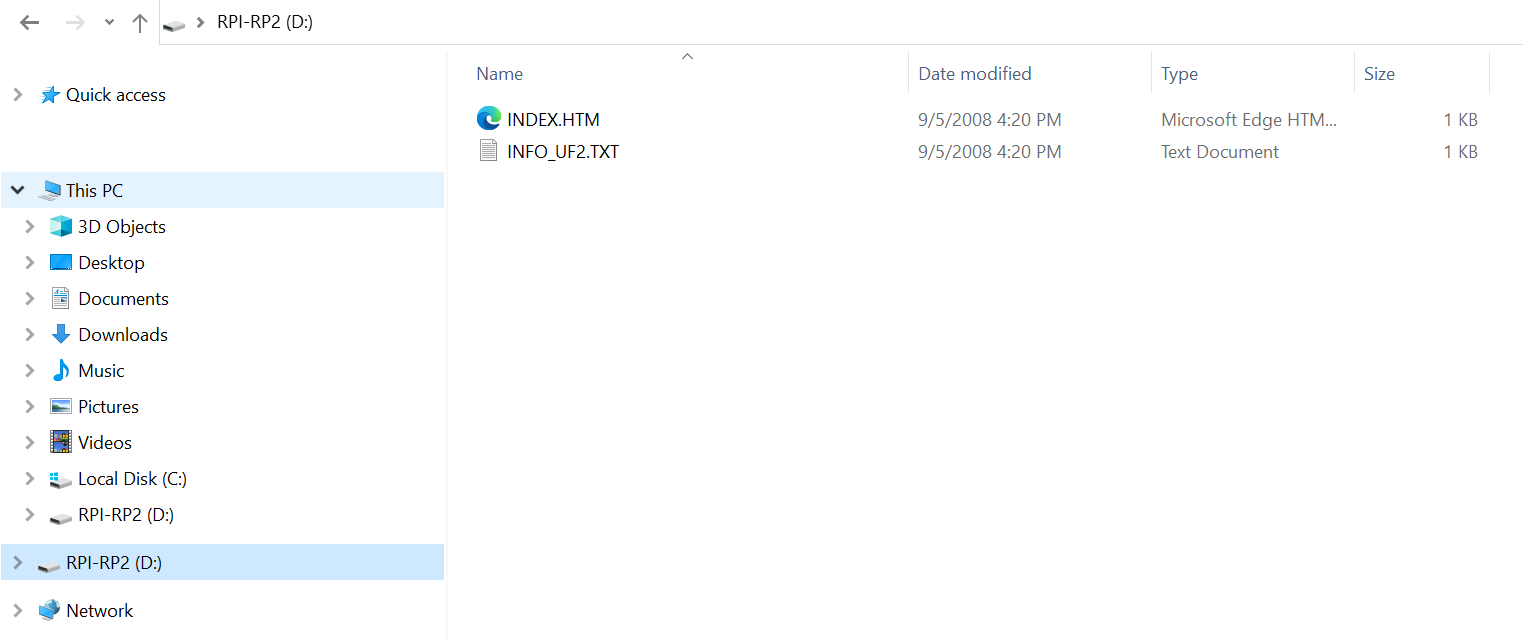
A simple USB key if its flash memory is empty or if the BOOT when connected to the computer: the board reveals its internal flash memory.
A simple serial link if there is already a program present (MicroPython or program compiled via the Arduino IDE). Messages can be sent and received via the COM ports of the computer.

uPesy RP2040 DevKit board recognized as a serial link (through the device manager)
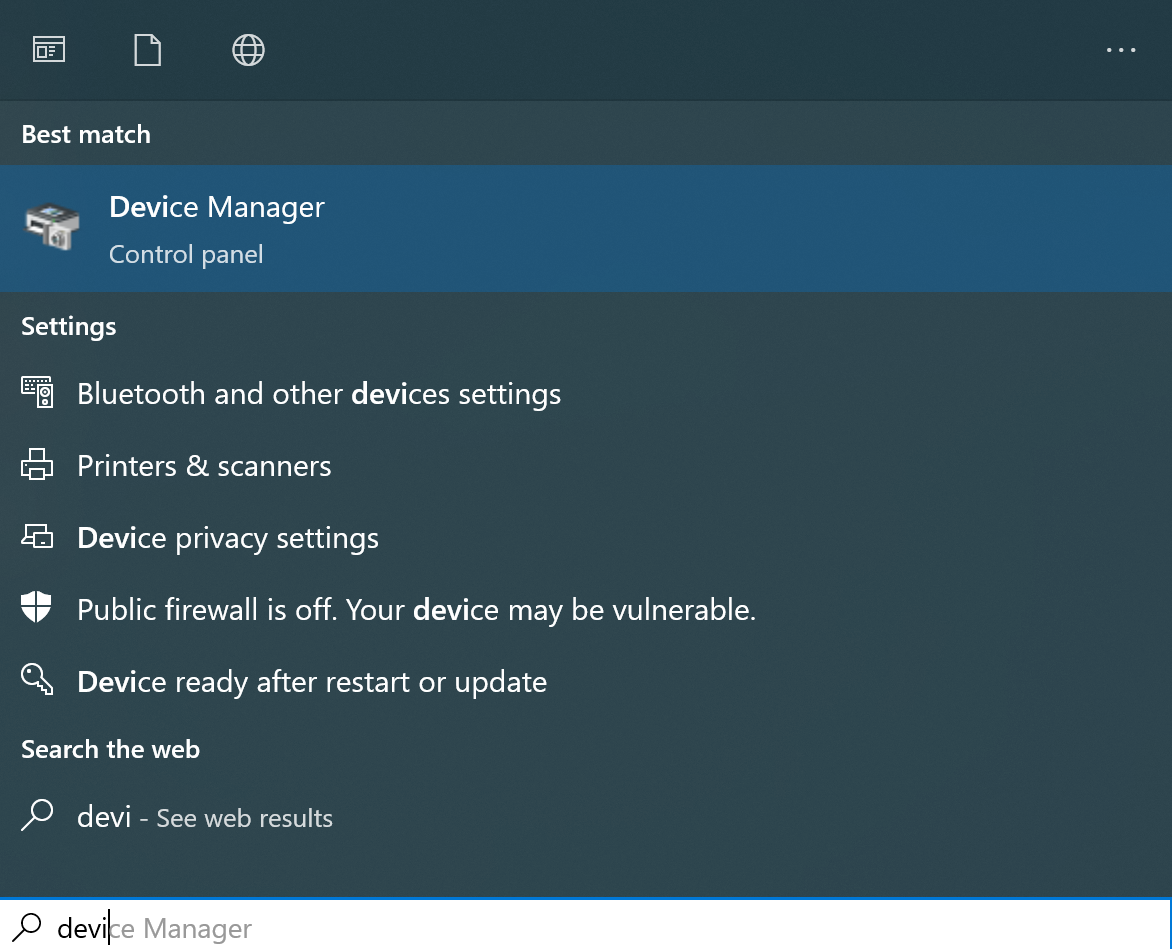
Use the Windows search bar to access the device manager easily
Tip
There is already a program on the uPesy RP2040 DevKit board that blinks the built-in blue LED. It must be seen by the computer as a simple serial link.
How to program the Raspberry Pi Pico?
You can use several languages to program the RP2040. There are 3 ways to program the Pi Pico board.
Using the native SDK in C/C++
There are no good or bad languages: you must choose the one that best fits your technical level and needs. In general, programming in MicroPython and Arduino will be reserved for beginners and hobbyists, while programming in native C/C++ with the SDK will be reserved for advanced users and professionals.
I suggest you read the detailed comparison of the different languages (Arduino code VS MicroPython VS native SDK) to make a better opinion.
Warning
If you test the different methods, avoid opening the serial monitor of the Arduino IDE. Otherwise, you will be confronted with the error Unable to connect to COM5: could not open port 'COM5': PermissionError(13, 'Accès refusé.', None, 5)

2 software cannot access the same serial COM port simultaneously.
Quickly program the Raspberry Pi Pico with MicroPython and Thonny IDE
Here, the goal is to be quickly operational using the languages and tools the Raspberry Pi foundation put forward: MicroPython and Thonny IDE.
Install MicroPython on your board
MicroPython is a Python interpreter optimized for microcontrollers like the RP2040 or the ESP32. We can therefore develop Python scripts that will be directly executed on the Pi Pico board. To do this, we install MicroPython on the board and then use an IDE (Thonny IDE, for example) which allows us to code and interact with MicroPython.
Good news, if you just got a uPesy RP2040 DevKit board, the latest version of MicroPython is already installed on it, so you can skip this step . If you have the classic Raspberry Pi Pico, I redirect you to the complete installation guide for MicroPython on the Raspberry Pi Pico .
Install Thonny IDE on the computer
Thonny is a light IDE (Integrated Development Environment) very useful to develop in Python when you are a beginner. It is the software for easy programming in Python that is promoted by Raspberry Pi since it is already installed on Raspberry Pi OS. If you’ve ever done Python on Raspberry Pi, you’ve probably already used it. It is available on Windows, Linux and macOS operating systems. It integrates MicroPython very well.
To install it, I redirect you to the installation and configuration guide of Thonny IDE .
After these steps, you should be able to write your first scripts in MicroPython. To help you, I encourage you to look at the following :
The detailed description of the uPesy RP2040 DevKit board if you have a uPesy board