
Using VS Code & PlatformIO to build complex projects on the ESP32
(Updated at 08/22/2022)
This article explains how to install the Visual Studio Code software with the PlatformIO plugin to be able to program more than 400 development boards within the same software, such as Arduino, ESP32, Nucleo, and STM32, Teensy, and Raspberry Pi. In our case, we can program the ESP32 boards with the Arduino language or with the native ESP-IDF framework.
Boards and libraries are installed automatically by the software.
Visual Studio Code is available on all platforms (Windows / macOS / Linux).
Installation of VS Code
To install Visual Studio Code on Windows, follow the steps below:
Download the latest version of the software on the Arduino website by clicking on “Download for Windows (Stable Build).”
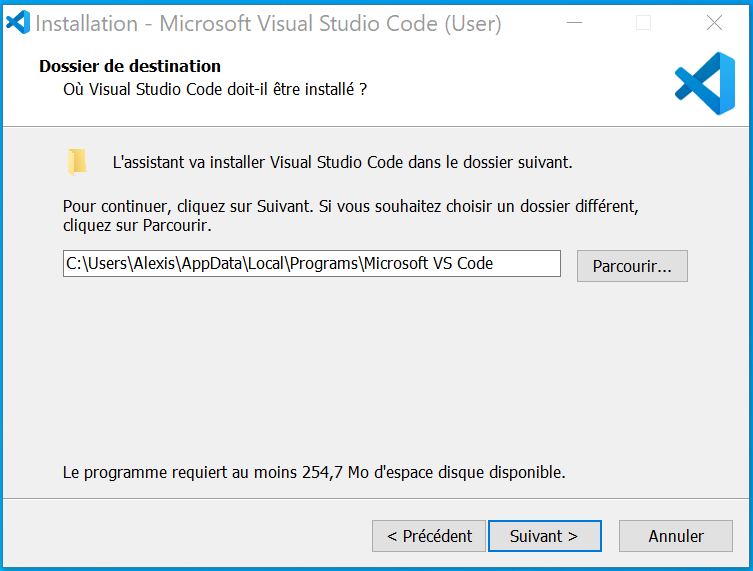
Run the .exe installation file; then, after accepting the terms of the license agreement, you can choose the installation folder :
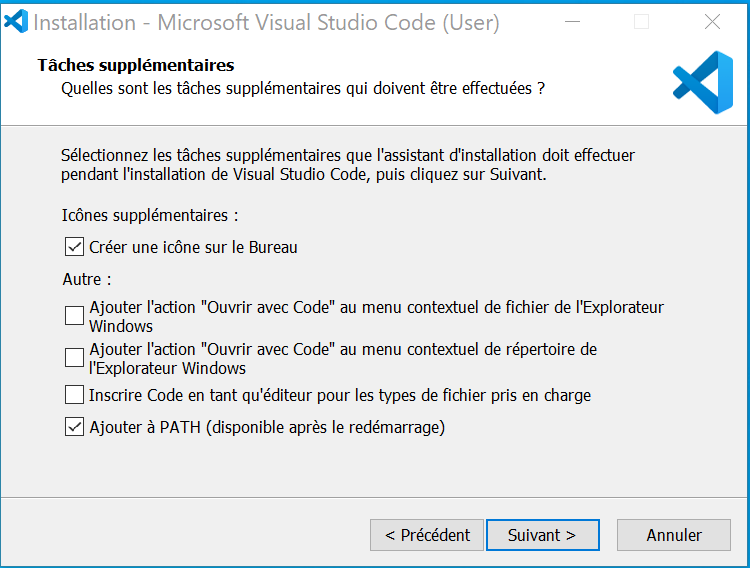
In the window on additional tasks, check at least the following boxes:
This article is available to premium members only. You still have 71% to discover.
Subscribe for only 5$/monthAlready subscribed? Sign in