
First steps with the uPesy ESP32 Low Power DevKit board
(Updated at 11/30/2022)
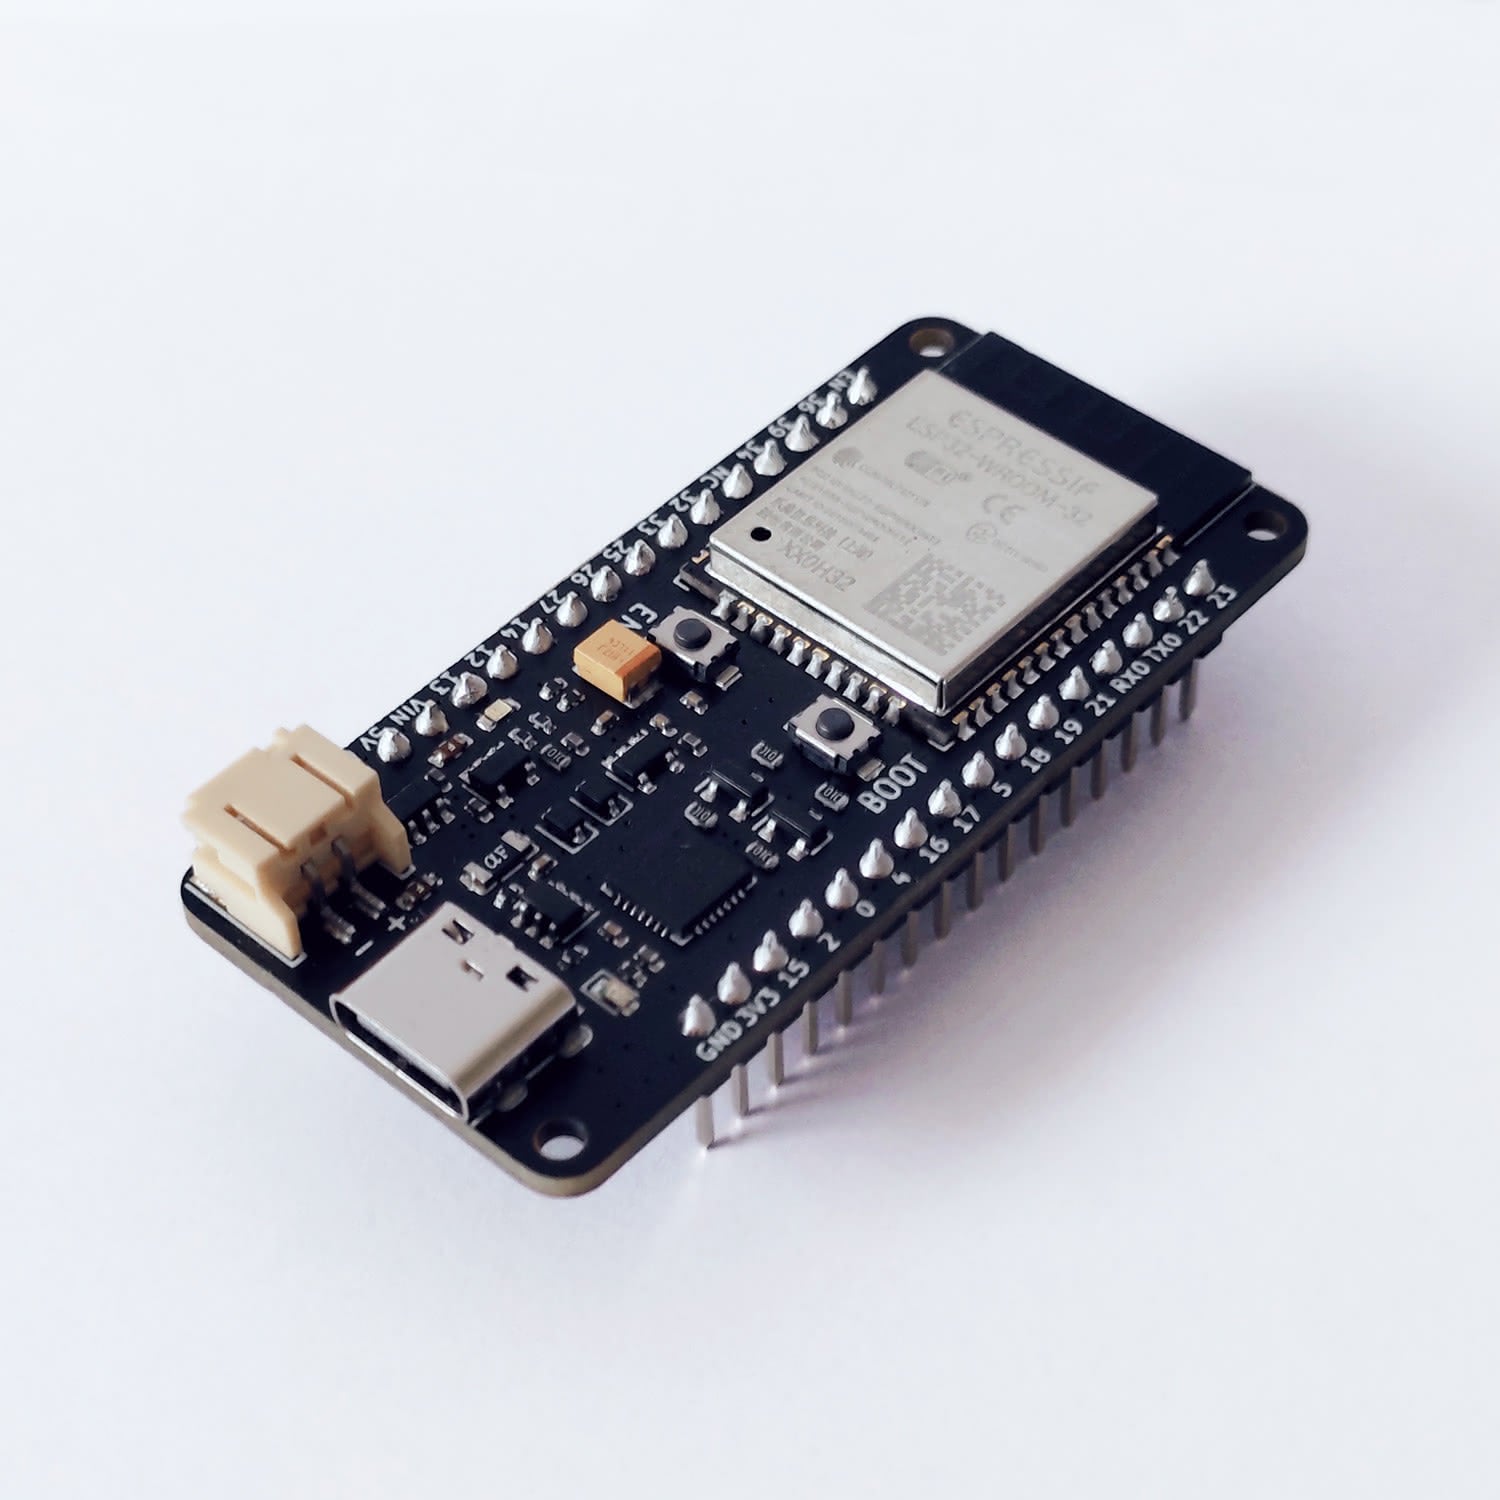
This guide will help you with your first uses of the uPesy ESP32 Wroom Low Power DevKit board : an ESP32 board optimized for very low power consumption in Deep Sleep mode.
Programming the ESP32: The different platforms and languages
You must know the basics of programming on the ESP32 if you’ve chosen this ESP32 model 🙂 . Programming this board is done the same way as a regular ESP32 module.
Note
You don’t need to reinstall the tools if you have already used another model of ESP32 board.
Here are the links to tutorials to install and program the ESP32 on the different platforms
See also
If you need help choosing the appropriate coding language. In that case, I’d like you to read the general user’s guide on a classic ESP32 board (like the uPesy ESP32 Wroom Devkit), which details the advantages and disadvantages of each language.
That said, if your goal is to consume as little power as possible to the nearest µA, it would be wise to run the code as fast as possible and thus avoid using specific languages. 😉
ESP32 Pinout: Understanding the ESP32 pins
The pinout is almost identical to that of the uPesy ESP32 Wroom DevKit. You cannot use only the GPIO35 pin because the board uses it to measure the battery’s voltage or the external power supply.

Note
On the board, no electrical signal is connected to the GPIO35 pin, named NC . You can either leave it as is or connect it to the GND.
Warning
There is also no blue LED on the GPIO2 pin, unlike most other ESP32s, so current consumption can be lowered when the pin is used.
If you need it, you can read the tutorial on the detailed operation of each pin of the ESP32 (ESP32 Pinout) for more details on the ESP32 pins.
Learn programming on the ESP32
A series of tutorials are available to learn to program the ESP32 according to your chosen language. You will find ESP32 Programming tutorials to program the ESP32 with Arduino code and tutorials to learn the basics of MicroPython .
See also
The tutorial on the operation and use of the ESP32 power-saving modes (Deep Sleep) should also interest you!
uPesy ESP32 Low Power Datasheet
To finish the discovery of this new board, I would strongly encourage you to read the documentation of the uPesy ESP32 Wroom DevKit board to learn more about its technical characteristics and to follow the recommendations for use, especially in the ways to power it with LiPo You will also find a method to calibrate the battery voltage measurements made by the ADC on the GPIO35 pin .
FAQ - Frequently asked questions
Here are the answers to questions you will probably ask yourself on the board.
My red LED does not light up when a battery powers the board
This is the expected behavior. The red LED only lights when the ESP32 board is powered by USB. A single LED consumes a few mA, which is far too much to be powered permanently by a battery.
My blue LED blinks when there is no battery connected
The blue LED is supposed to be on if the connected battery is charging or off if fully charged. The built-in charger made it flash more or less randomly when there was no battery. When a LiPoly battery is connected, it stabilizes the charger and stops blinking
Tip
The blue LED blinks when information is sent through the serial port. This can be a way (when there is no battery connected) to know the activity of the serial port!
How long will it take to charge my battery?
The maximum charge current is set at 300mA maximum. This is relatively low, but it is suitable for tiny batteries < 500mA without damaging them. The charging circuit of the board is limited in space and heat dissipation: To charge your batteries faster, you can use a more efficient dedicated charger.
How to know the state of charge of the battery?
We can estimate the charge of a LiPo battery based on its voltage. The procedure to read the voltage from a program is detailed in the technical documentation of the board .