Install MicroPython on your ESP32 board
(Updated at 03/16/2023)
Follow this step-by-step installation guide to install and use MicroPython on your ESP32 board.
What is MicroPython?
MicroPython is a Python interpreter optimized for microcontrollers like ESP32 boards. You can write Python scripts that will be directly executed on an ESP32 board. To do so, you have to flash the ESP32 board with MicroPython on it and use an IDE (for example, Thonny IDE ) to code Python scripts and send them to the ESP32.
The MicroPython firmware is available on the official website . You should use the most recent stable version and take the file with the .bin extension.
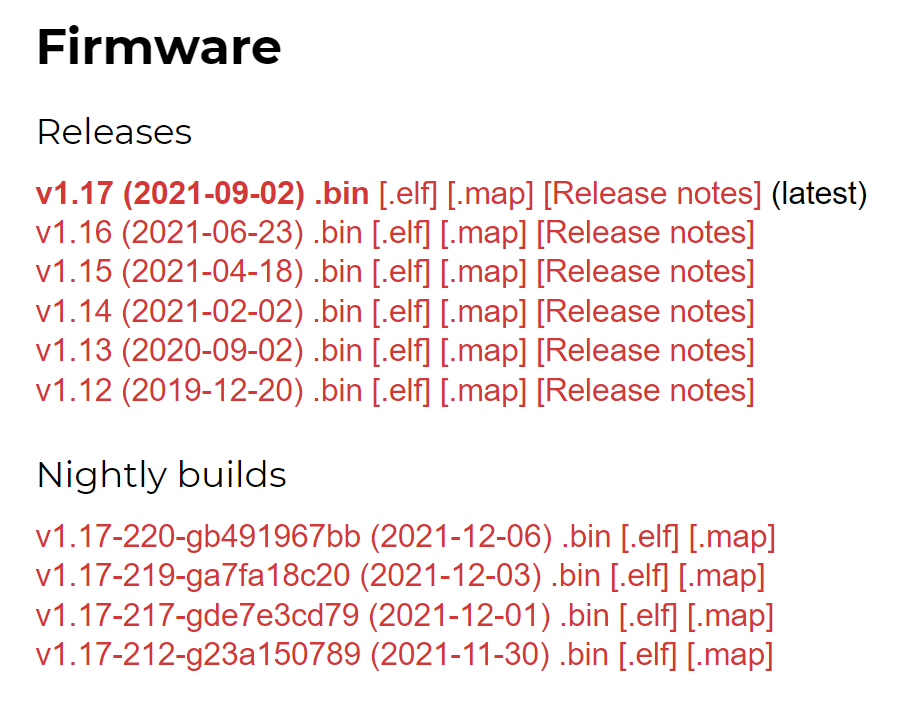
The latest version of MicroPython at the time of writing this tutorial is v1.17
Note
To use the extra 4 MB of RAM on the uPesy ESP32 Wrover DevKit board, you will need to go to the download page specially designed for SPIRAM support .
There are two ways to install MicroPython on your ESP32 board: a beginner-friendly one with Thonny IDE and another one for more advanced with the command line.
Install MicroPython on an ESP32 board with Thonny IDE
For beginners, the easiest way to install MicroPython on the ESP32 is through the Thonny IDE interface.
You will use both Thonny to install MicroPython and to write all your Python scripts. To install Thonny IDE, you must go to the official website thonny.org and choose and install the correct executable according to your operating system.
The installation of Thonny is straightforward.
Tip
During the first launch, you can choose the language.
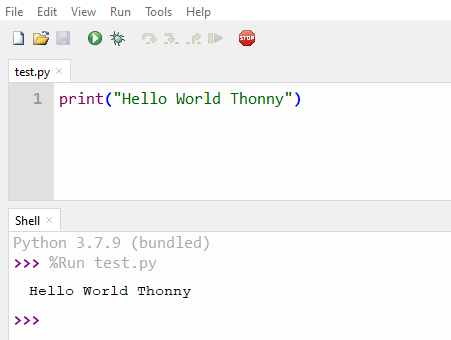
You get a classic code editor with a Python interpreter.
Warning
Before installation, remember to close the serial monitor of the Arduino IDE if the software is open; otherwise, you will be confronted with the error Unable to connect to COM5: could not open port 'COM5': PermissionError(13, 'Access is denied.', None, 5) :

Indeed, two software cannot access the same serial COM port simultaneously.
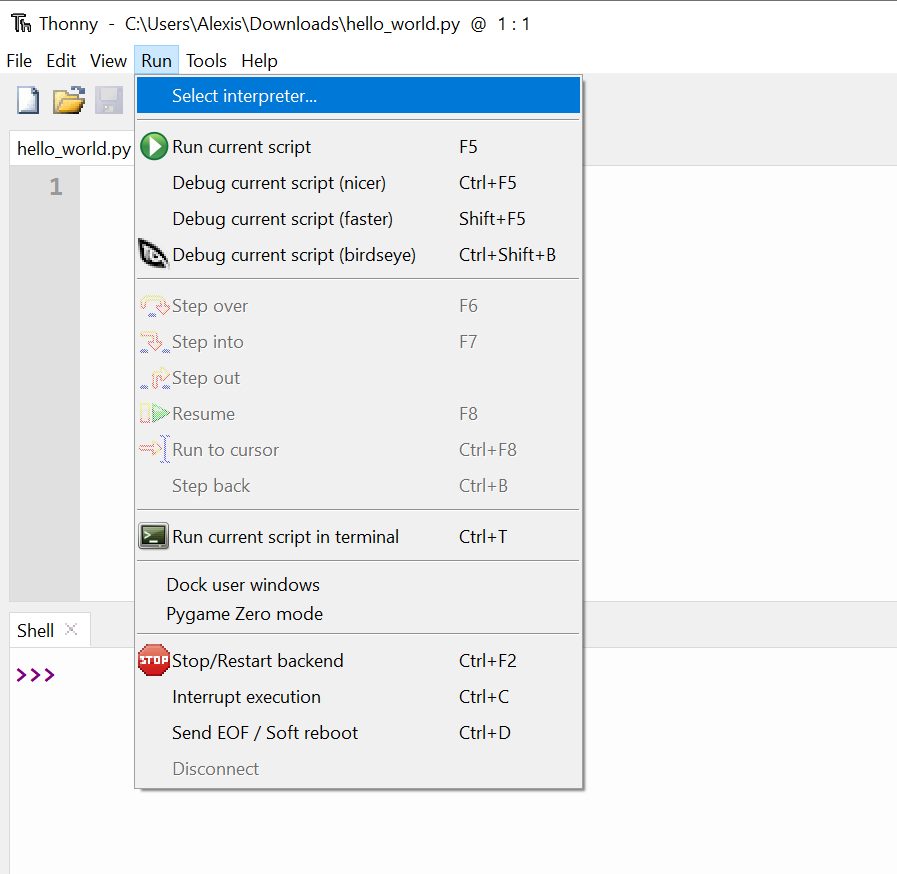
To install MicroPython on the ESP32, go to Run → Select interpreter
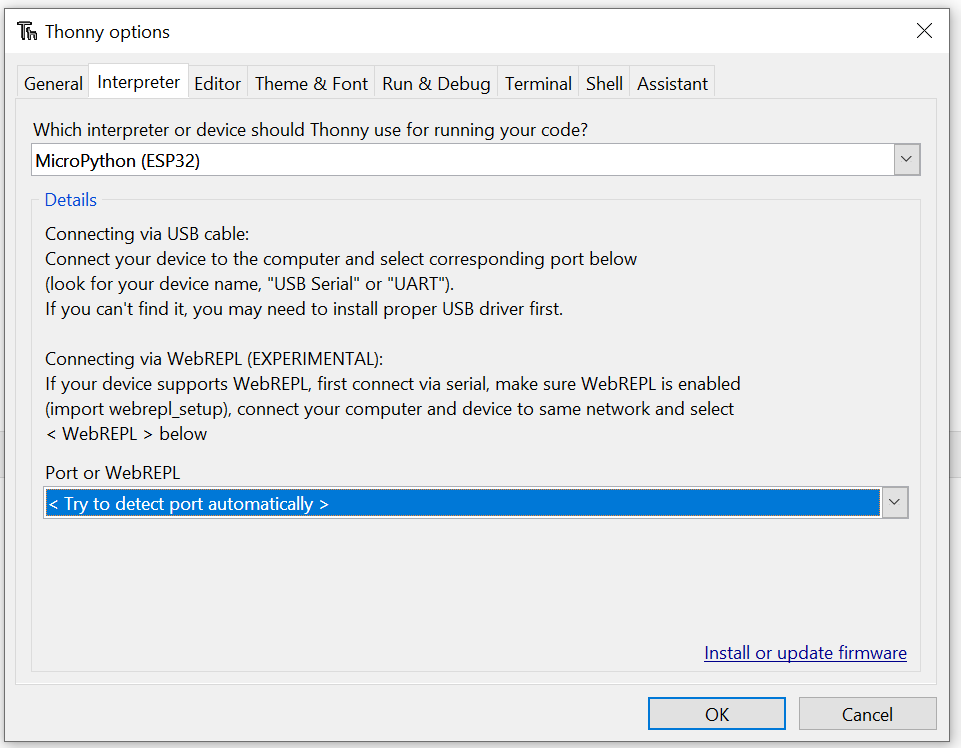
Choose the interpreter “MicroPython (ESP32) and click on “Install or update the firmware”.
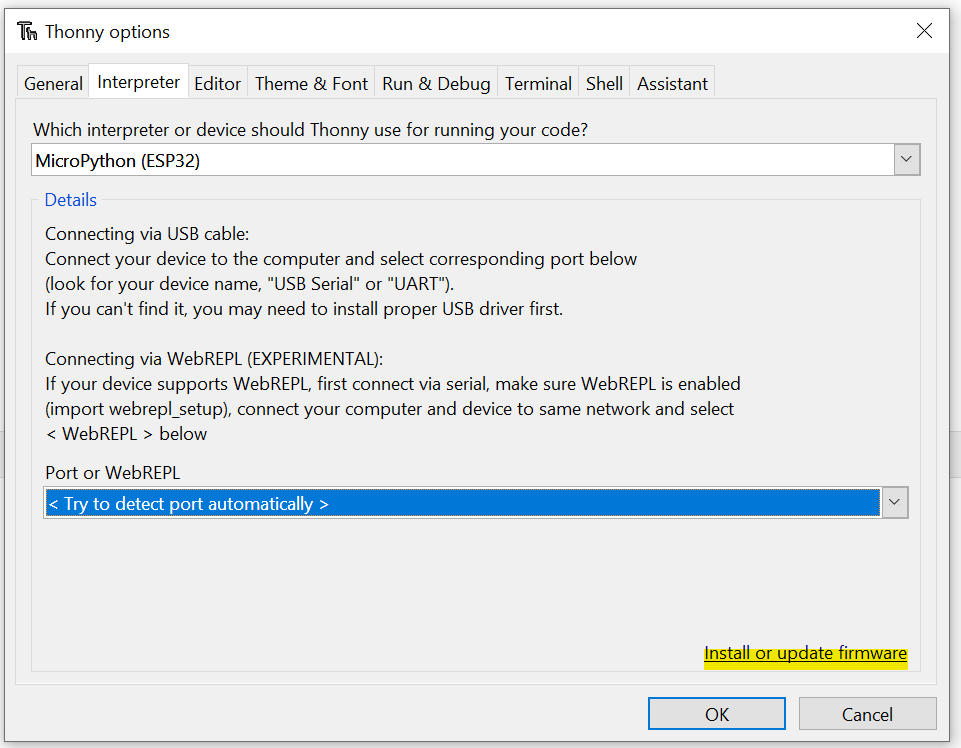
If your ESP32 board does not appear in the drop-down list, check that it is connected and click on “Reload “ to update the list. Then enter the path to the MicroPython binary file, and click on click on “Install” to update the list
The complete installation is illustrated in the following animation:
Summary of the installation of Micro Python on the ESP32 in video
If all has gone well, MicroPython is properly installed on the ESP32. However, you need to ensure that Thonny uses the MicroPython interpreter on the ESP32. Just go back to the Run → Select interpreter and change it if necessary.
Make sure Thonny IDE uses the correct MicroPython interpreter
The MicroPython interpreter for your ESP32 board should appear in Thonny:
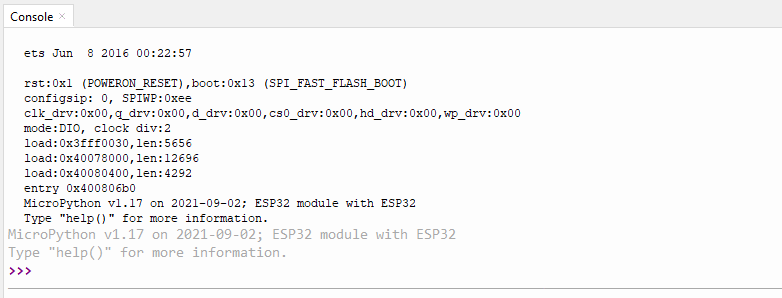
Note
If nothing happens, you can try clicking the STOP button, which restarts the interpreter.
Install MicroPython directly on the ESP32 with esptool
For advanced users who don’t want to use Thonny IDE, you can use the communication tool directly with the ESP32 esptool.py . It is a python tool that allows, among other things, to upload a program to the ESP32 .
The esptool.py software takes care of uploading the sketches from Arduino IDE to the ESP32
You can install it with the terminal with the package manager pip .
pip install esptool
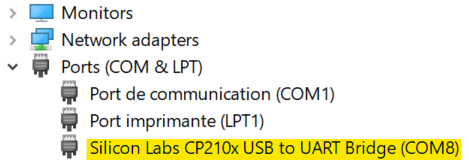
Before using it, you need to know the COM port of your ESP32 board: plug in your ESP32 and go to the Device Manager of Windows.
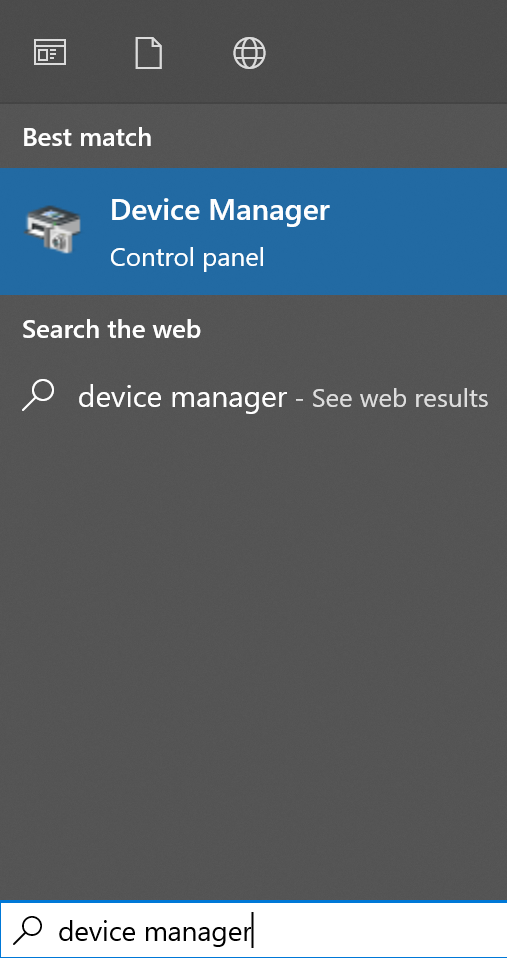
Look at the COM number of your ESP32 in the Ports (COM and LPT)
Note
The following command must be run in the folder containing the MicroPython binary. If access to the serial COM port is denied, the command may have to be run in Administrator mode.
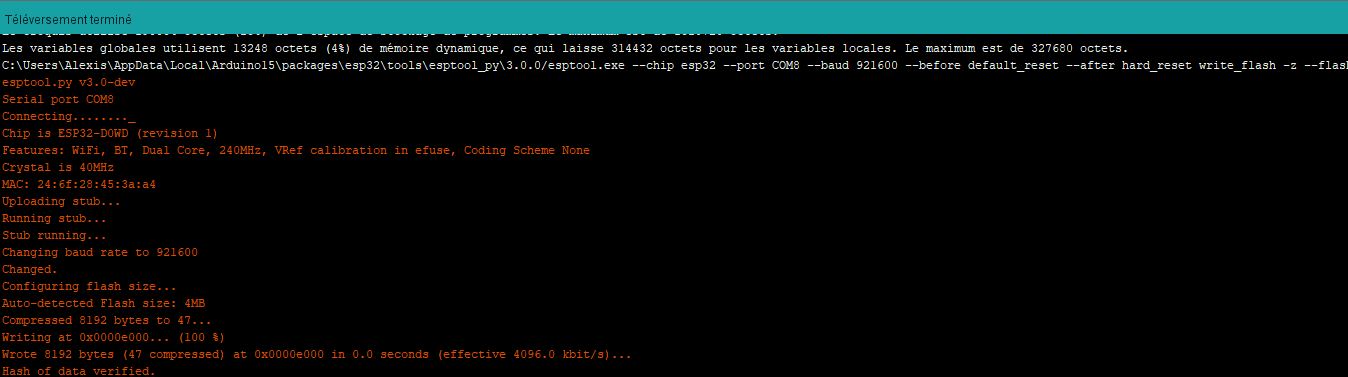
Then, we enter the command below in the terminal to flash the firmware with esptool and press Enter :
esptool --chip esp32 --port COM8 --baud 460800 write_flash -z 0x1000 esp32-20220618-v1.19.1.bin
See also
There are extensions for MicroPython on VS Code and Pycharm. You can also use tools like RSHELL to upload Python scripts directly from a terminal.
Your first MicroPython script on ESP32
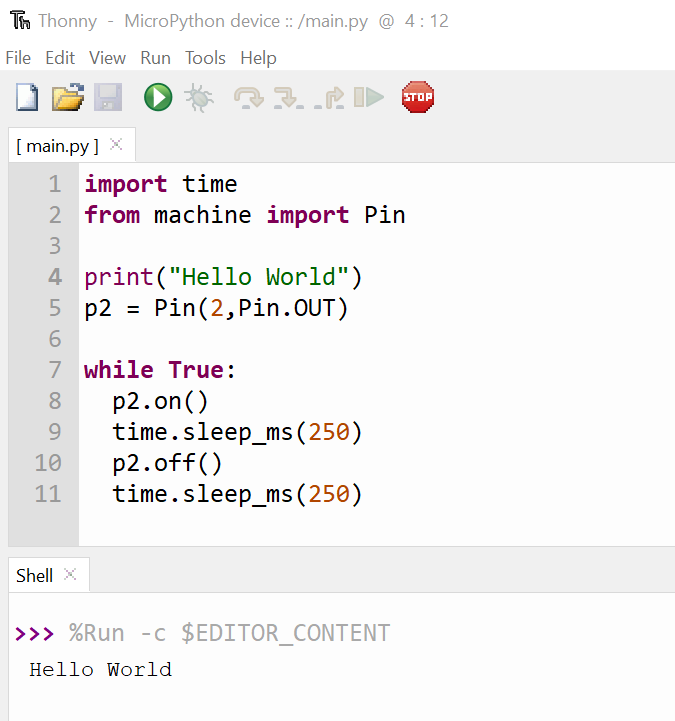
Now that all the tools are installed, we can write our first Python script (on Thonny IDE): The famous code makes the LED of your ESP32 board (present on the GPIO2 pin) blink.
import time
from machine import Pin

print("Hello World")
p2 = Pin(2,Pin.OUT)

while True:
  p2.on()
  time.sleep_ms(250)
  p2.off()
  time.sleep_ms(250)
To run the script on your ESP32 board, press the green “Run” button. I suggest you changing the flashing time of the LEDs to see how fast it is to load a new code !