
Measuring distances in Arduino code with the HC-SR04 ultrasonic sensor with a Pi Pico
(Updated at 01/04/2023)
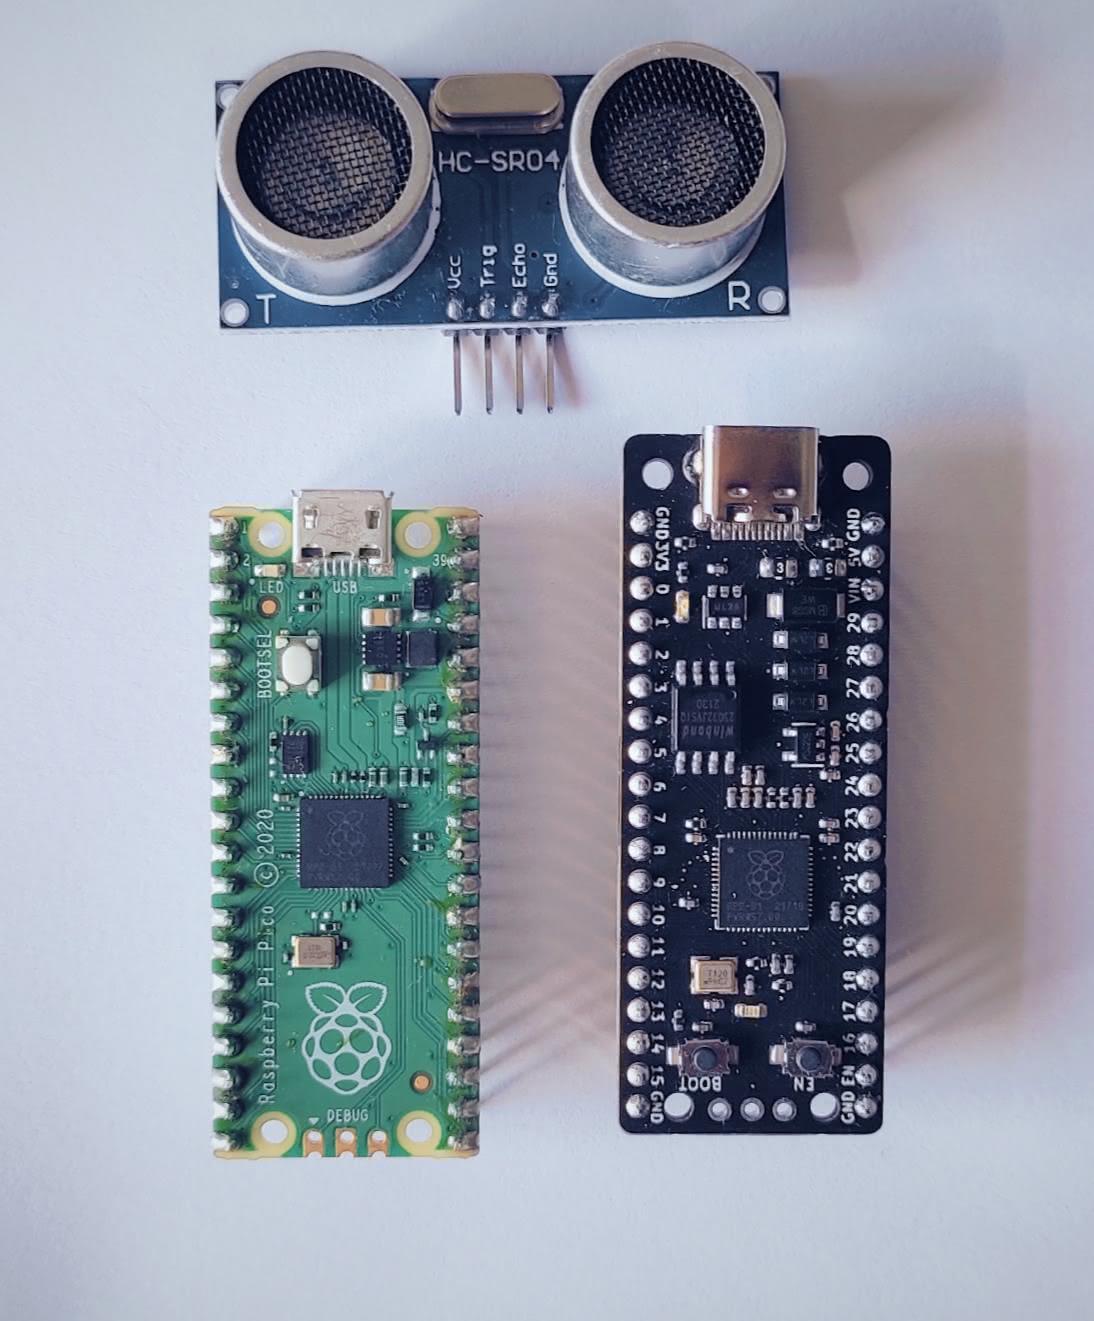
The HC-SR04 sensor can measure the distance between itself and an object using ultrasonic waves. This module consists of an ultrasonic transmitter, receiver, and chip that controls the two.
Getting started with the HC-SR04 module
Operation of an ultrasonic sensor
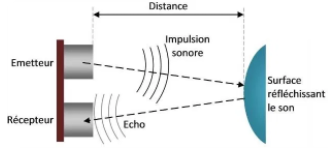
To understand how the HC-SR04 module works, I suggest you look at this article which provides a detailed explanation of the physical process of the module.
Technical specifications of the HC-SR04 module
Power supply: This module requires a 5V power source to operate.
Consumption: When activated, the sensor consumes 20mA of current.
Range: The module’s theoretical capacity is to measure a distance between 3cm and 4m. Practically speaking, you’ll get the most accurate readings between 10cm and 2.5m.
Warning
To get an accurate measurement, the obstacle’s surface needs to be even so that sound waves can be reflected predictably.
Measurement angle: < 15°.
Ultrasonic frequency: 40 kHz (inaudible to the ear)
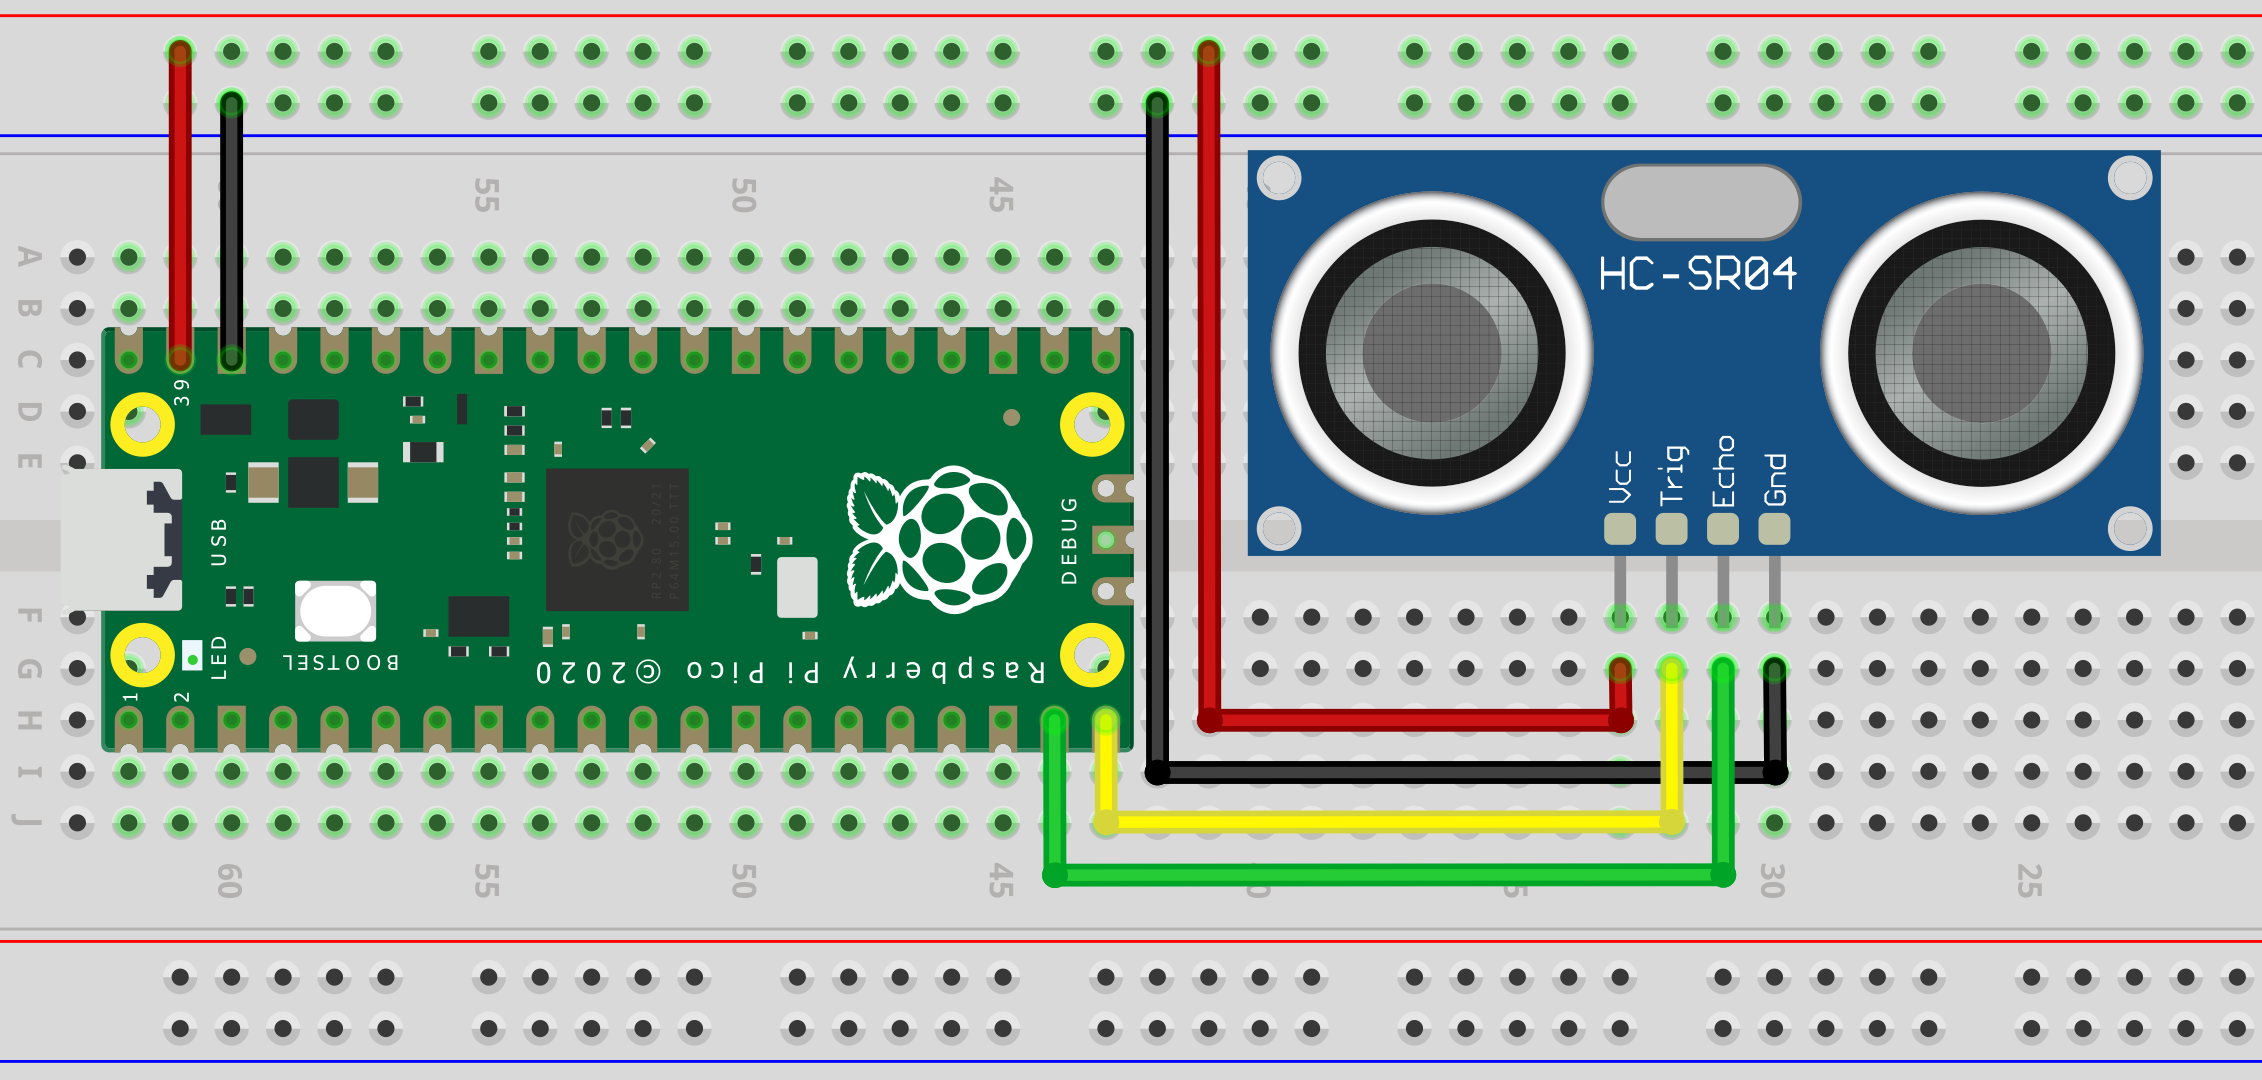
Connections of the HC-SR04 module on Raspberry Pi Pico
The Raspberry Pi Pico requires two pins to control the module, but if you need more pins available, you can get away with just one. However, using both pins for the most convenient outcome is best.
HC-SR04 Module |
Raspberry Pi Pico |
|---|---|
|
|
|
|
|
|
|
|
Note
Pins 14 and 15 on the Pi Pico have been selected for this example. However, you can choose different pins if you wish.
Wiring diagram for using the HC-SR04 module with an RPi Pi Pico
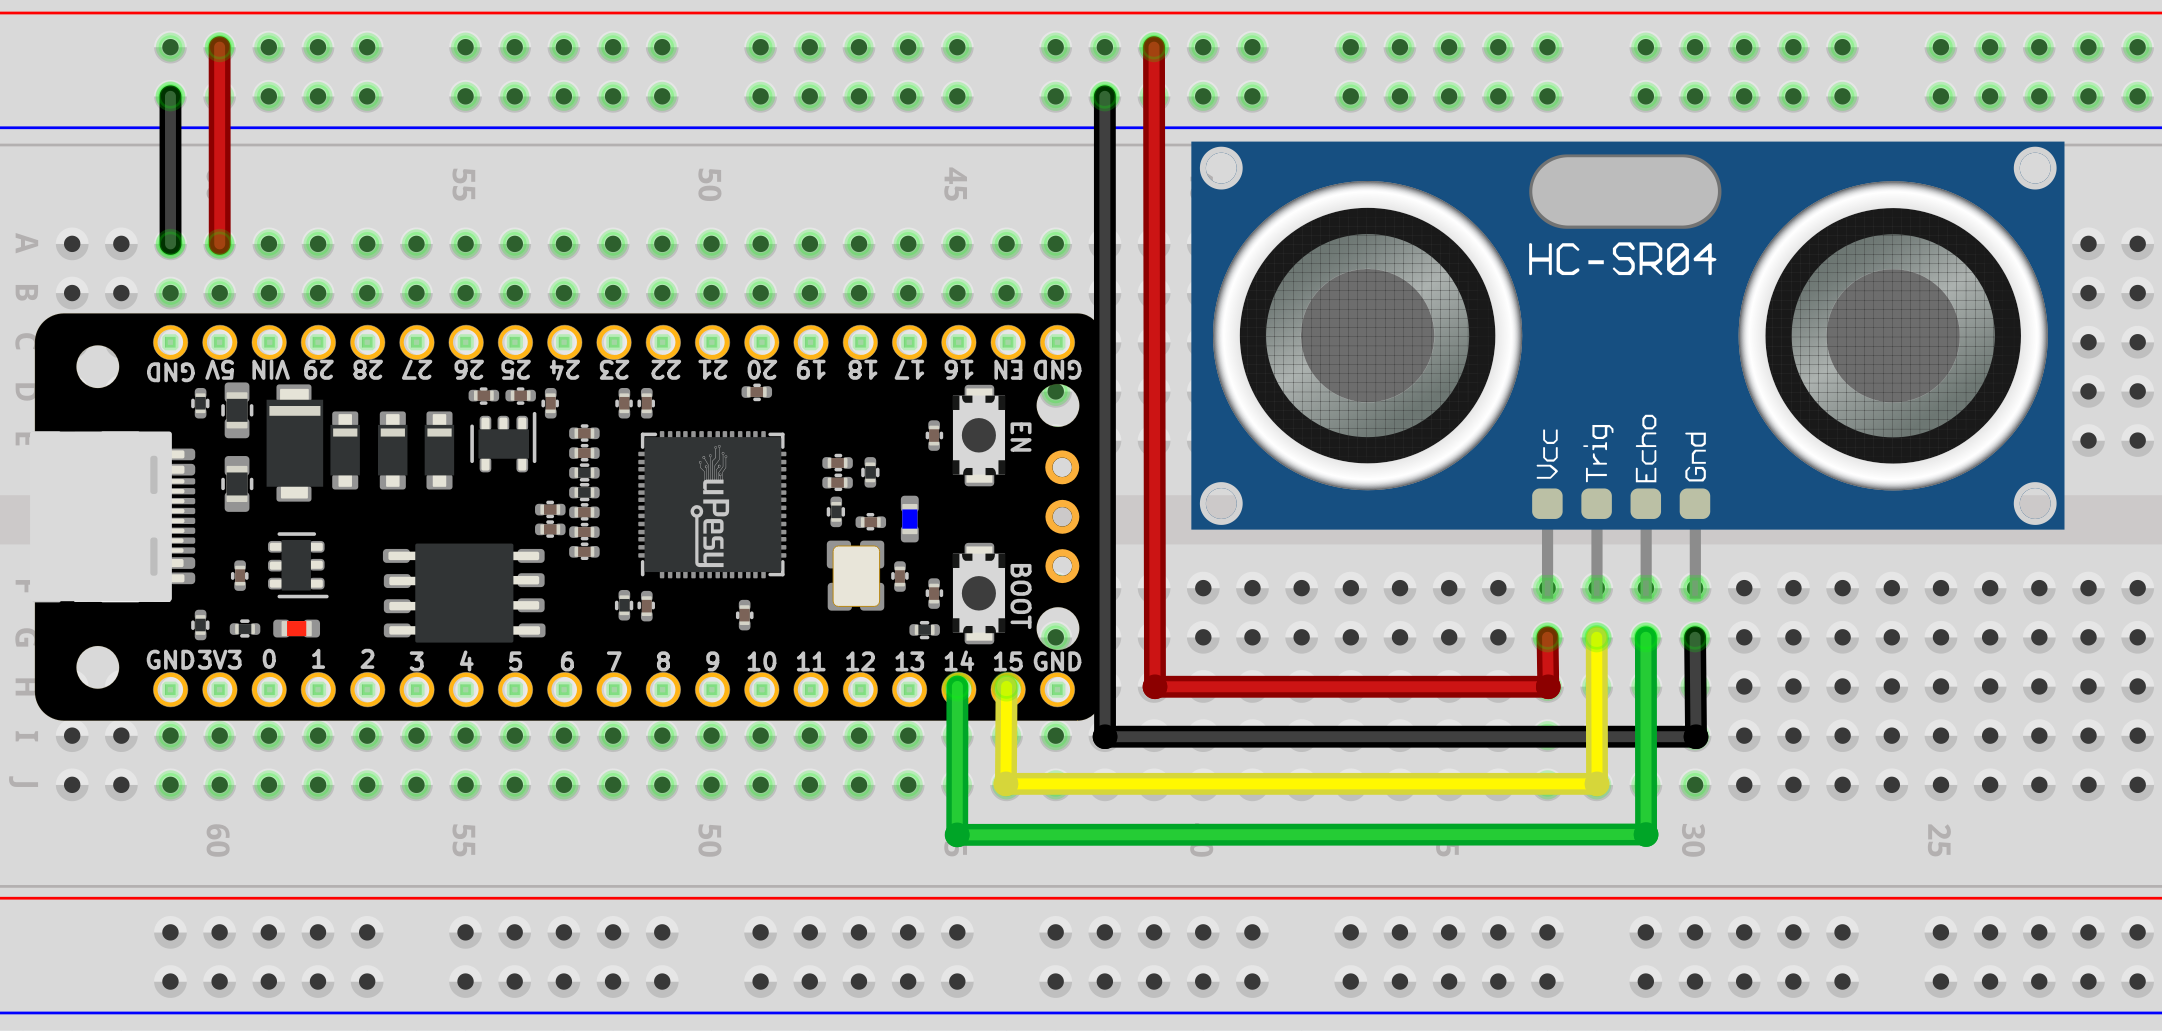
Is the power supply of the module: 5V or 3.3V?
The HC-SR04 module is not ideal to use with Raspberry Pi Pico boards (like the uPesy RP2040 DevKit) due to the difference in the logic levels. The HC-SR04 module works with 5V logic levels, while the Pico boards operate with 3.3V. To make it work, you must supply it with 5V and add either level shifters or voltage dividers on the ECHO pin. This will make the voltage received by the GP14 pin on the Pico board 3.3V instead of the original 5V. However, this makes the circuit more complex. The output pin from the HC-SR04 module will recognize the logic level of 3.3V as a high level, so no further adaptation is necessary.
Tip
For short-term use, the pins of the Pico can safely handle a voltage of 5V. However, I would like to point out that if these pins are used for a prolonged period, there is a risk of them becoming damaged and ceasing to work. As such, the steps to protect against this have been left out of this tutorial for the sake of simplicity.
Note
Internet users have successfully utilized the HC-SR04 module with a voltage of 3.3V, stating that this is achievable through a longer pulse duration. I was unsuccessful in powering the modules I owned with such a voltage. HC-SR04 modules with 3.3V compatibility may exist.
If you use multiple boards with a 3.3V operating voltage (ESP8266, ESP32, Raspberry Pi Pico), it is recommended to use a model specifically designed for it, such as the RCWL-1601 .
Easily measure a distance with the HC-SR04 module and essential Arduino functions
Using the Pi Pico board, no extra libraries are required. Send a pulse to the TRIG pin, and the module will respond with a pulse on the ECHO pin. This pulse is proportional to the distance of an obstacle.
To calculate the distance, a formula can be used, the details of which are available in the article on the operation of an ultrasonic sensor.
const int trig_pin = 15;
const int echo_pin = 14;
// Vitesse du son dans l'air
#define SOUND_SPEED 340
#define TRIG_PULSE_DURATION_US 10
long ultrason_duration;
float distance_cm;
void setup() {
Serial.begin(115200);
pinMode(trig_pin, OUTPUT); // On configure le trig en output
pinMode(echo_pin, INPUT); // On configure l'echo en input
}
void loop() {
// Prepare le signal
digitalWrite(trig_pin, LOW);
delayMicroseconds(2);
// Créer une impulsion de 10 µs
digitalWrite(trig_pin, HIGH);
delayMicroseconds(TRIG_PULSE_DURATION_US);
digitalWrite(trig_pin, LOW);
// Renvoie le temps de propagation de l'onde (en µs)
ultrason_duration = pulseIn(echo_pin, HIGH);
// Calcul de la distance
distance_cm = ultrason_duration * SOUND_SPEED/2 * 0.0001;
// On affiche la distance sur le port série
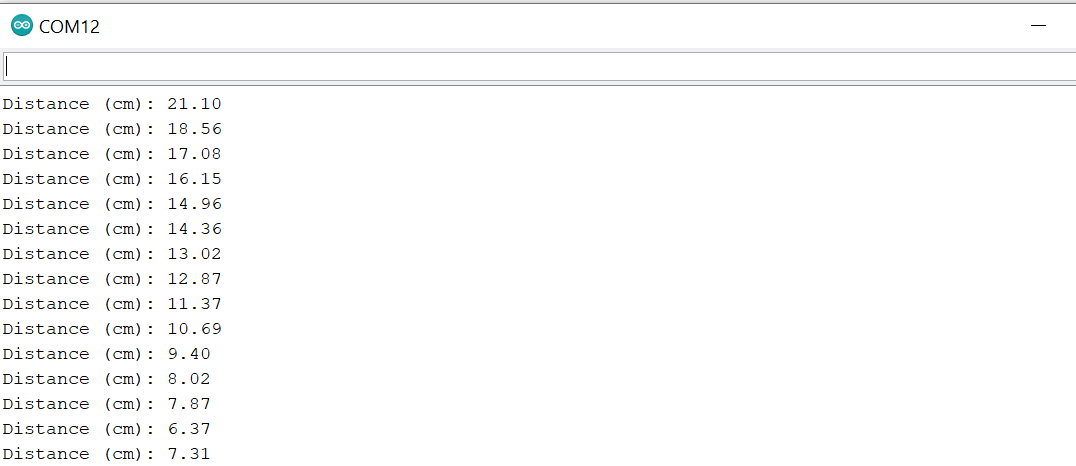
Serial.print("Distance (cm): ");
Serial.println(distance_cm);
delay(250);
}
The program generates a 10µs signal which is sent to the GP15 of the Pico.
The pulseIn() function halts the program until it receives a response pulse from the HC-SR04 module on pin 18 . The code then uses this to calculate the distance between the module and any obstacle by measuring the duration of the ultrasound wave. The serial monitor can show you the distance between two objects. To demonstrate this, I used my hand as an example and displayed the distance on the serial monitor. 😊
The delay setting can be lowered to receive more frequent measurements. You should set the value delay(250) until the ultrasonic module can make the measurement.
This approach is great for getting familiar with how the HC-SR04 module works. Unfortunately, it won’t be very suitable for complex programs because pulseIn() will block the execution of other tasks. To overcome this, interrupts can be used for asynchronous readings.
Arduino code libraries for the HC-SR04 module compatible with the Pico
Using external libraries dedicated to the HC-SR04 module can benefit a larger project. They provide features for:
Easy management of multiple ultrasound modules,
Asynchronous distance readings with interrupts and timers, and
Error management.
Warning
It won’t necessarily be compatible with a Pico if you’re using libraries like NewPing with an Arduino board. This specific library, for instance, doesn’t support Pico.
This section is available to premium members only. You still have 70% to discover.
Subscribe for only 5$/monthAlready subscribed? Sign in